How Do I Deploy a Dynamics 365 Integrated Trial Environment? – Step -by-Step Guide
This blog is my contribution to the Dynamics 365 Finance & Supply chain management & Power Platform community. Having worked with Axapta / Dynamics AX / D365 F&O for 18 years out of my 21 years of career in application development and ERP. I'm passionate about Dynamics 365 ERP, Power Platform & Azure integrations 💡. However, I tend to always look forward. So I mostly write about current subjects.
My aim is that my deep thought may inspire some of you and provoke some new thoughts in the interest of our community.
Please note, that the views expressed in this blog are mine alone and do not necessarily reflect the view of my employer.
The challenge is: what is it?
Keeping up-to-date with the latest & greatest features of Dynamics 365 family products is essential in today's fast-paced technological landscape.
The other day, I revisited my programming journal, only to discover several new features, updates, and changes I hadn't seen before. Simply to stay current, I had to revisit new features of Dynamics 365 Project Operations and some features of Dynamics 365 FO.
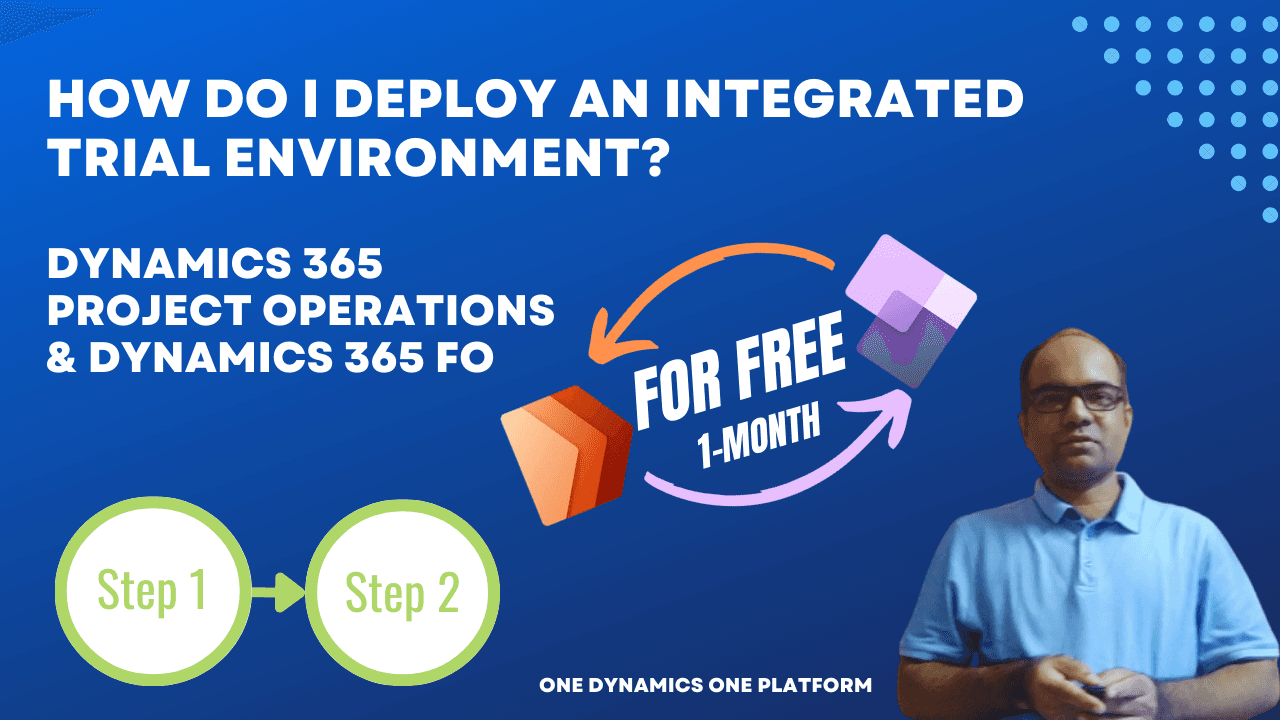
At work, I am often required to use new frameworks or features. Although I concentrate on learning new Dynamics 365 Project Operations features, I might still feel that I am missing the full picture of Dynamics 365 Finance business processes. In some cases, it's frustrating not to have a dedicated, managed or trial-integrated Dynamics 365 Project Operations or any apps of Dynamics 365 and Dynamics 365 FO environment, so you can see how everything works together.
What is the most effective way to deploy your learning environment for 1-month?
Here are the steps we need to take
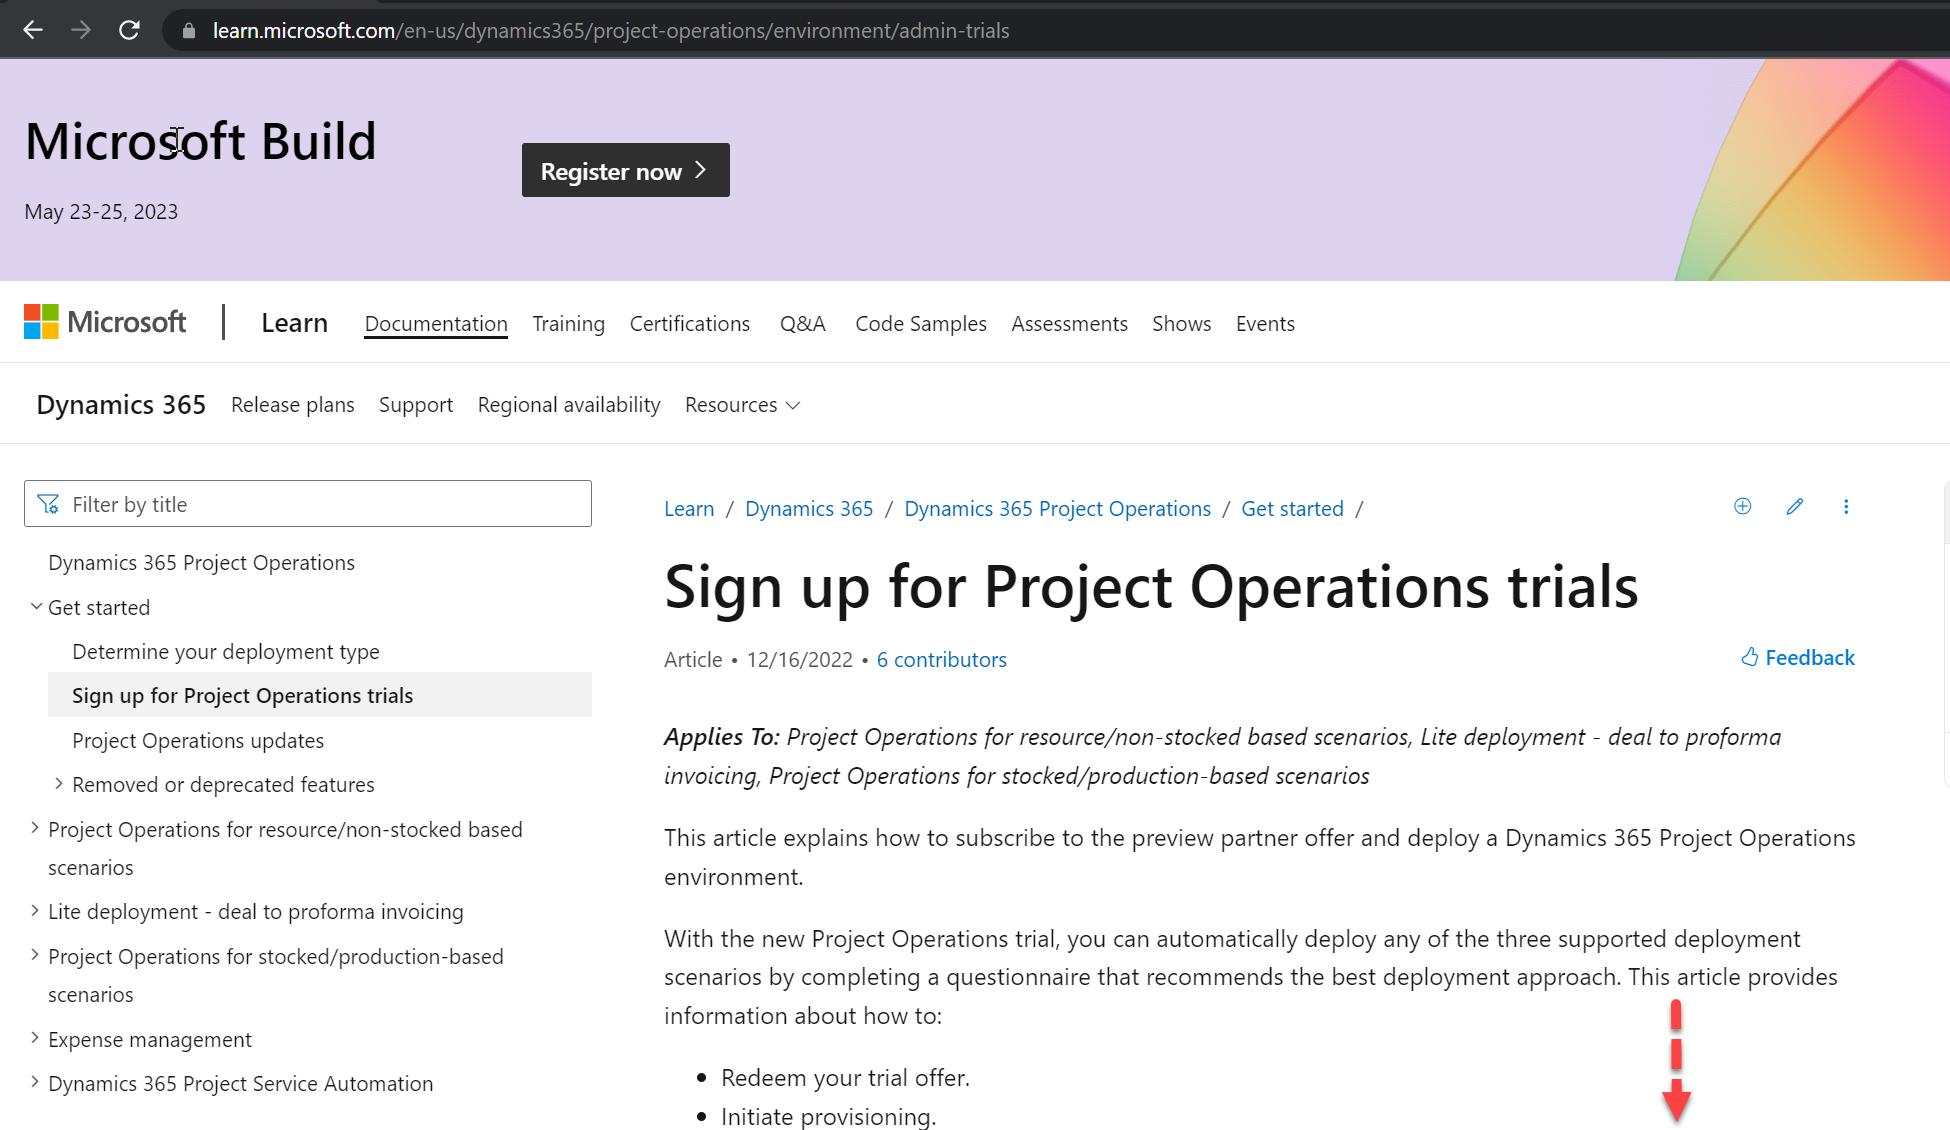
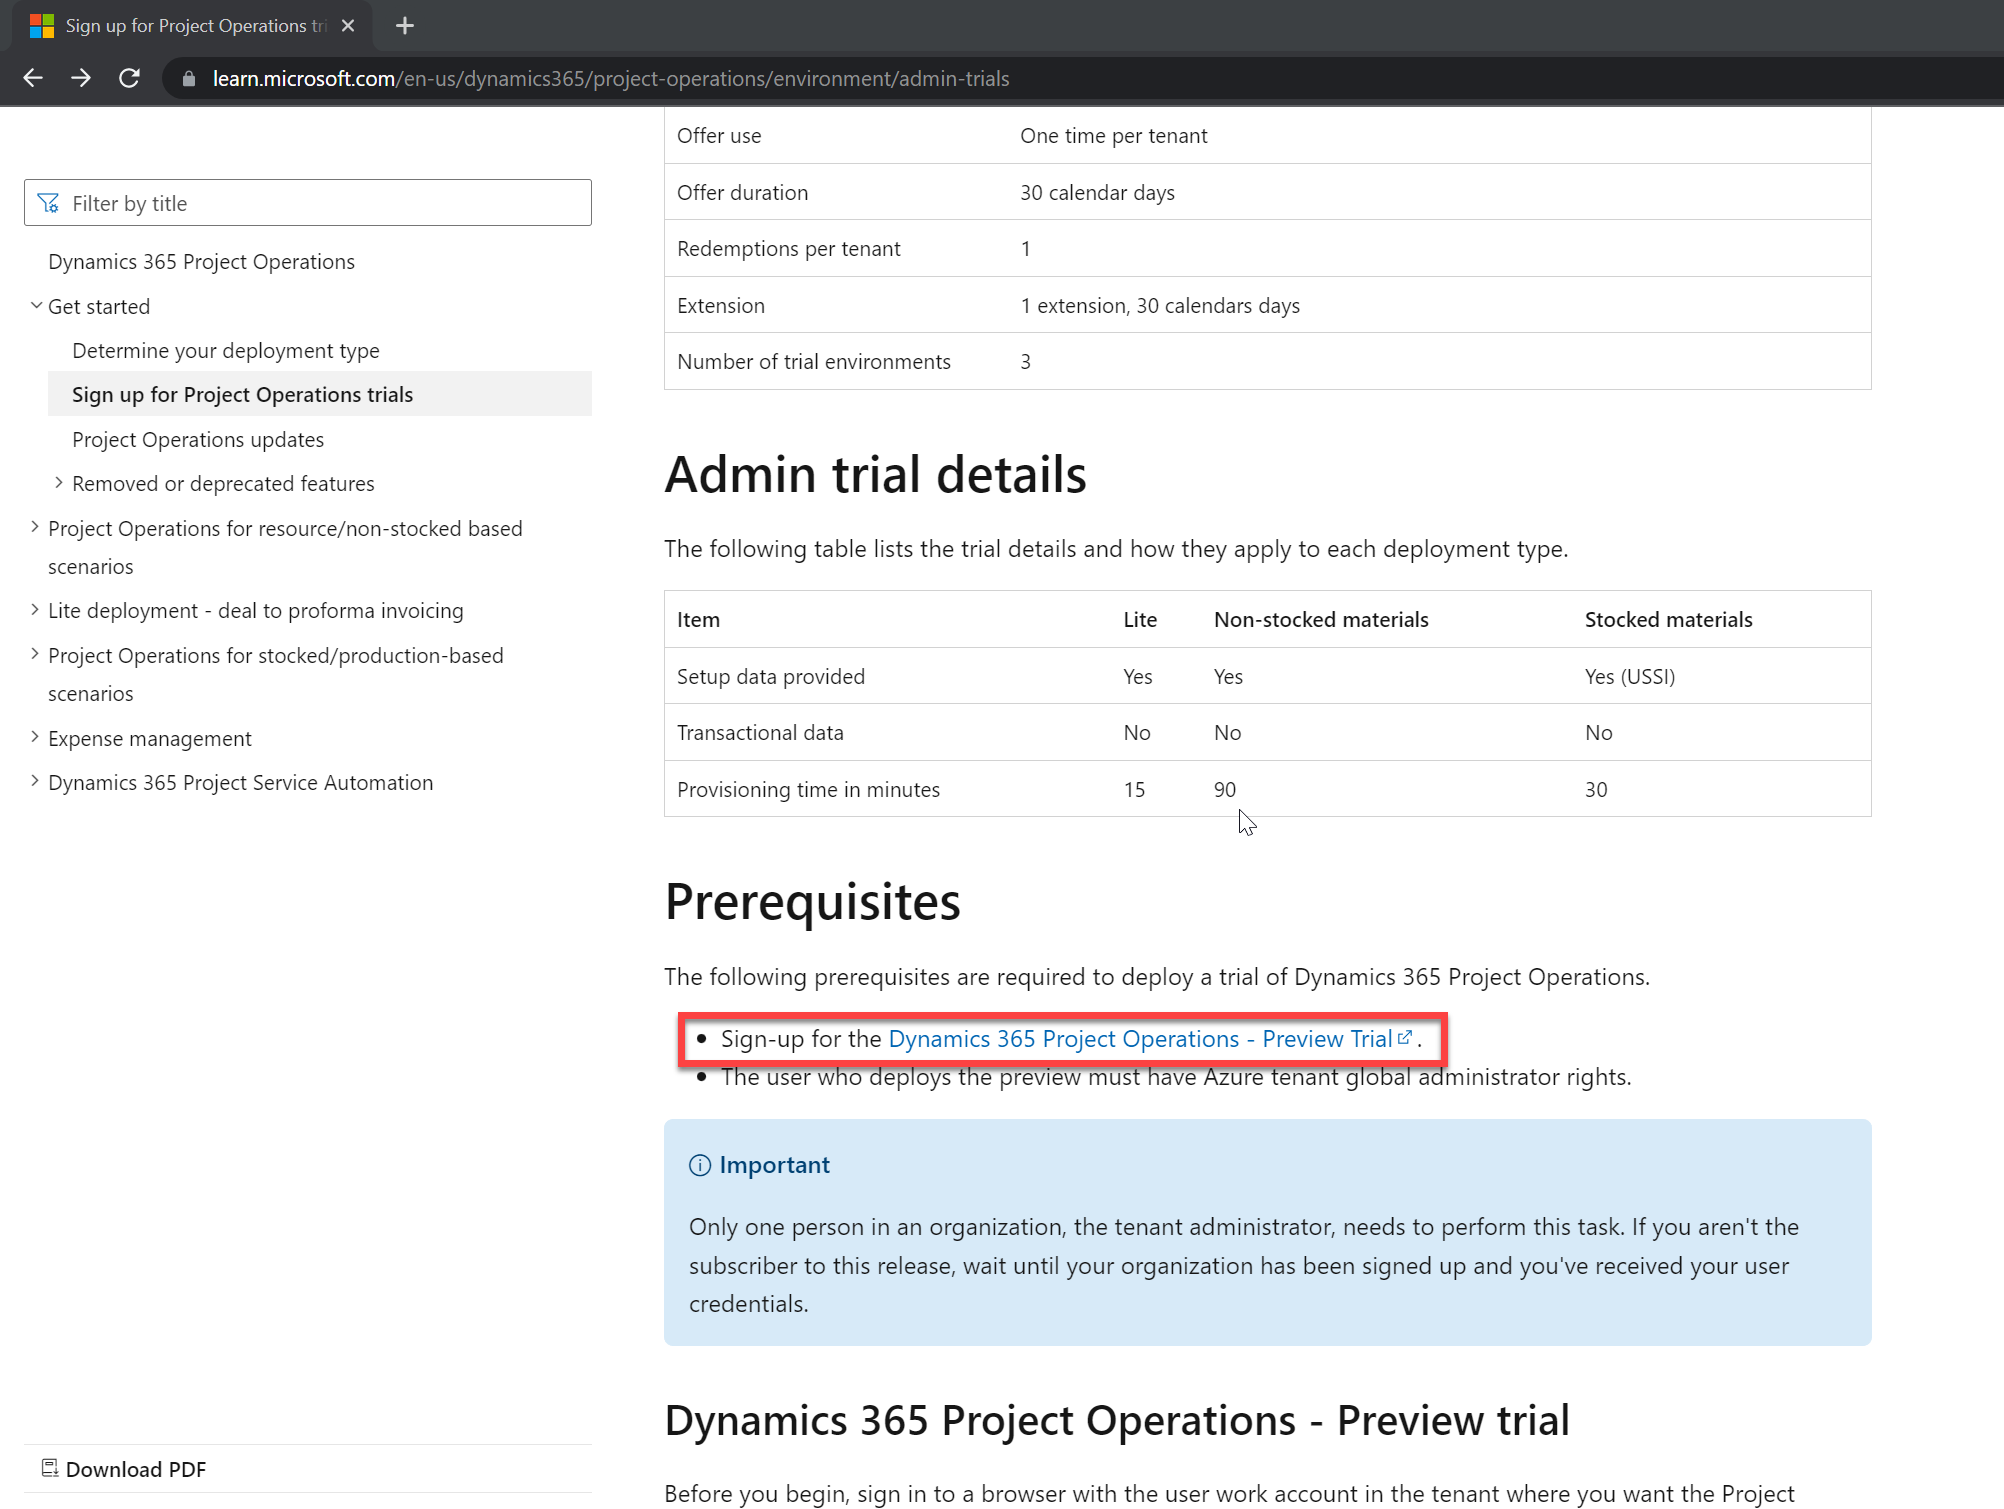
Step 1: Search for the right URL
You can easily find the Dynamics 365 Project Operations trial link by searching the below keyword using BING.com
OR
Navigate to https://learn.microsoft.com/en-us/dynamics365/project-operations/environment/admin-trials

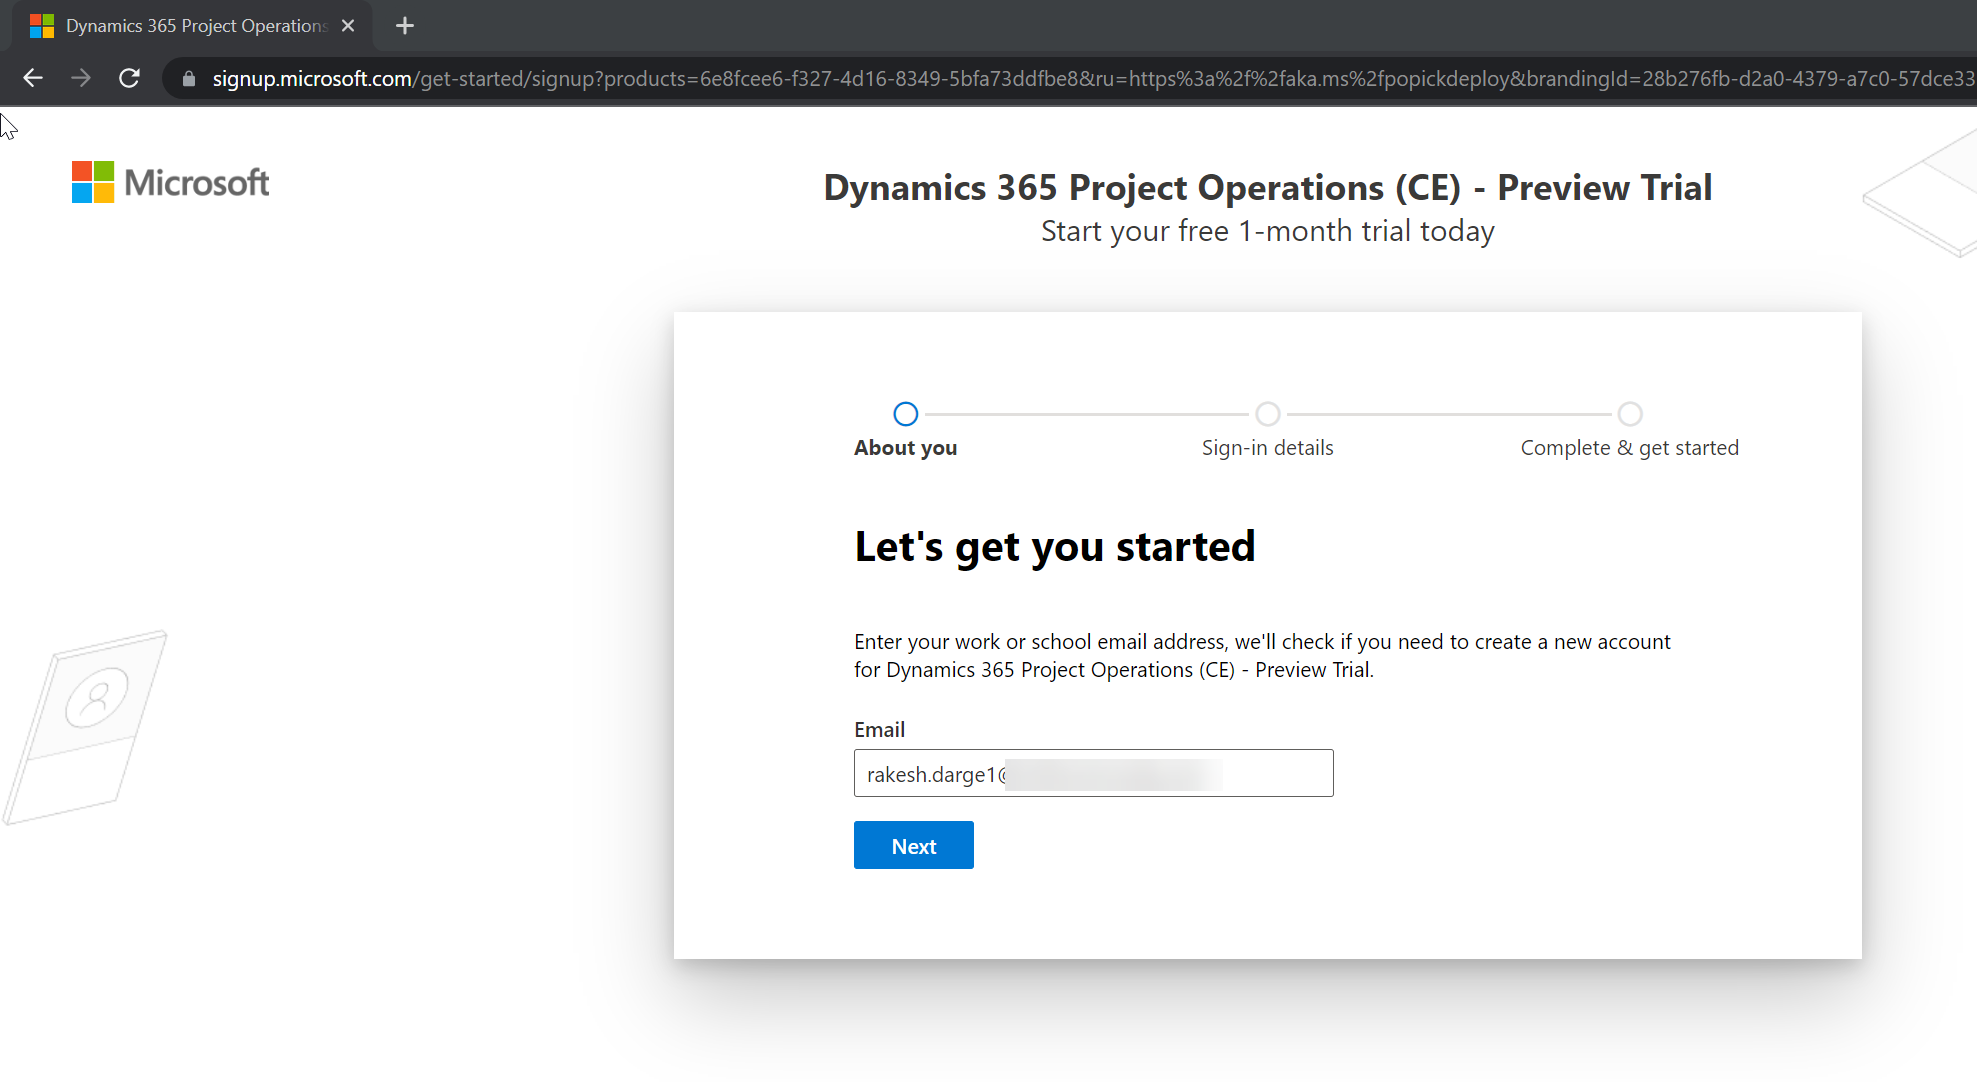
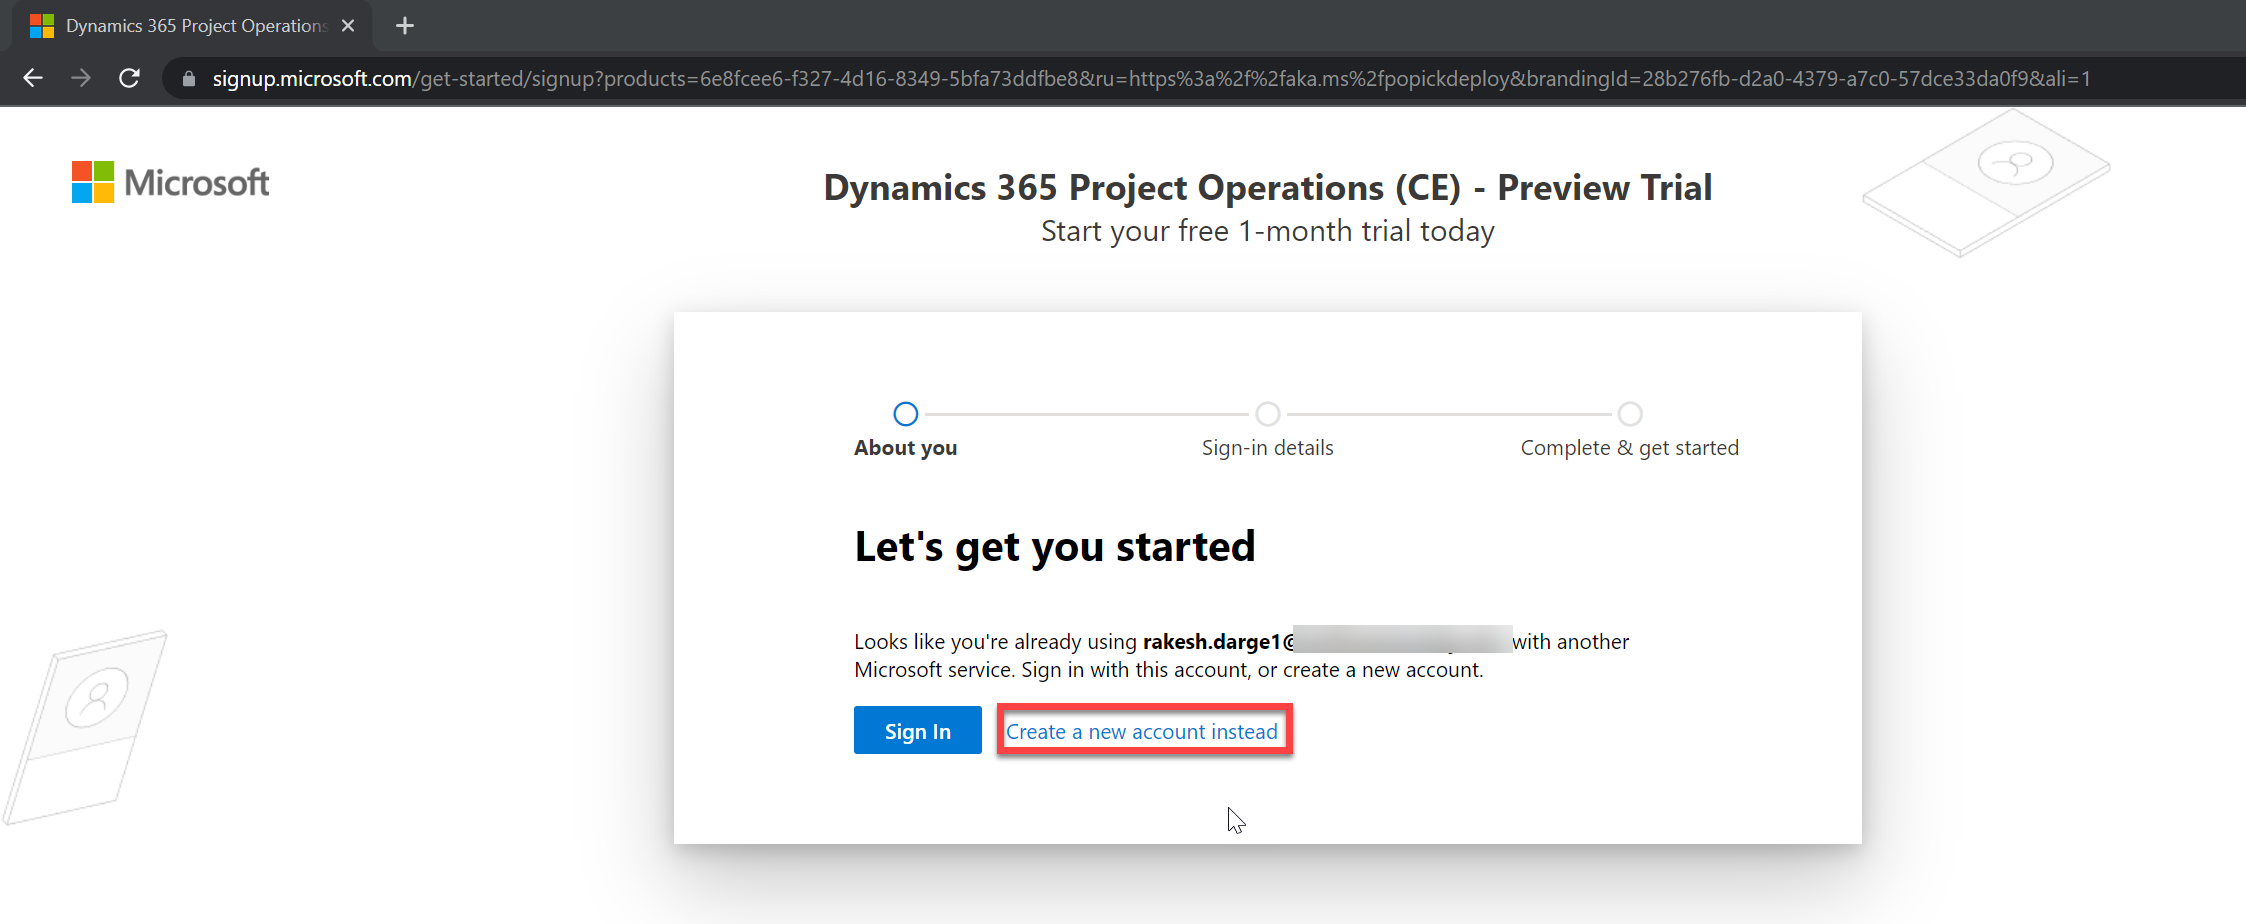
Step 2: Sign up for Project Operations Trial
Step 3: Let's get you started
Fill out the email address
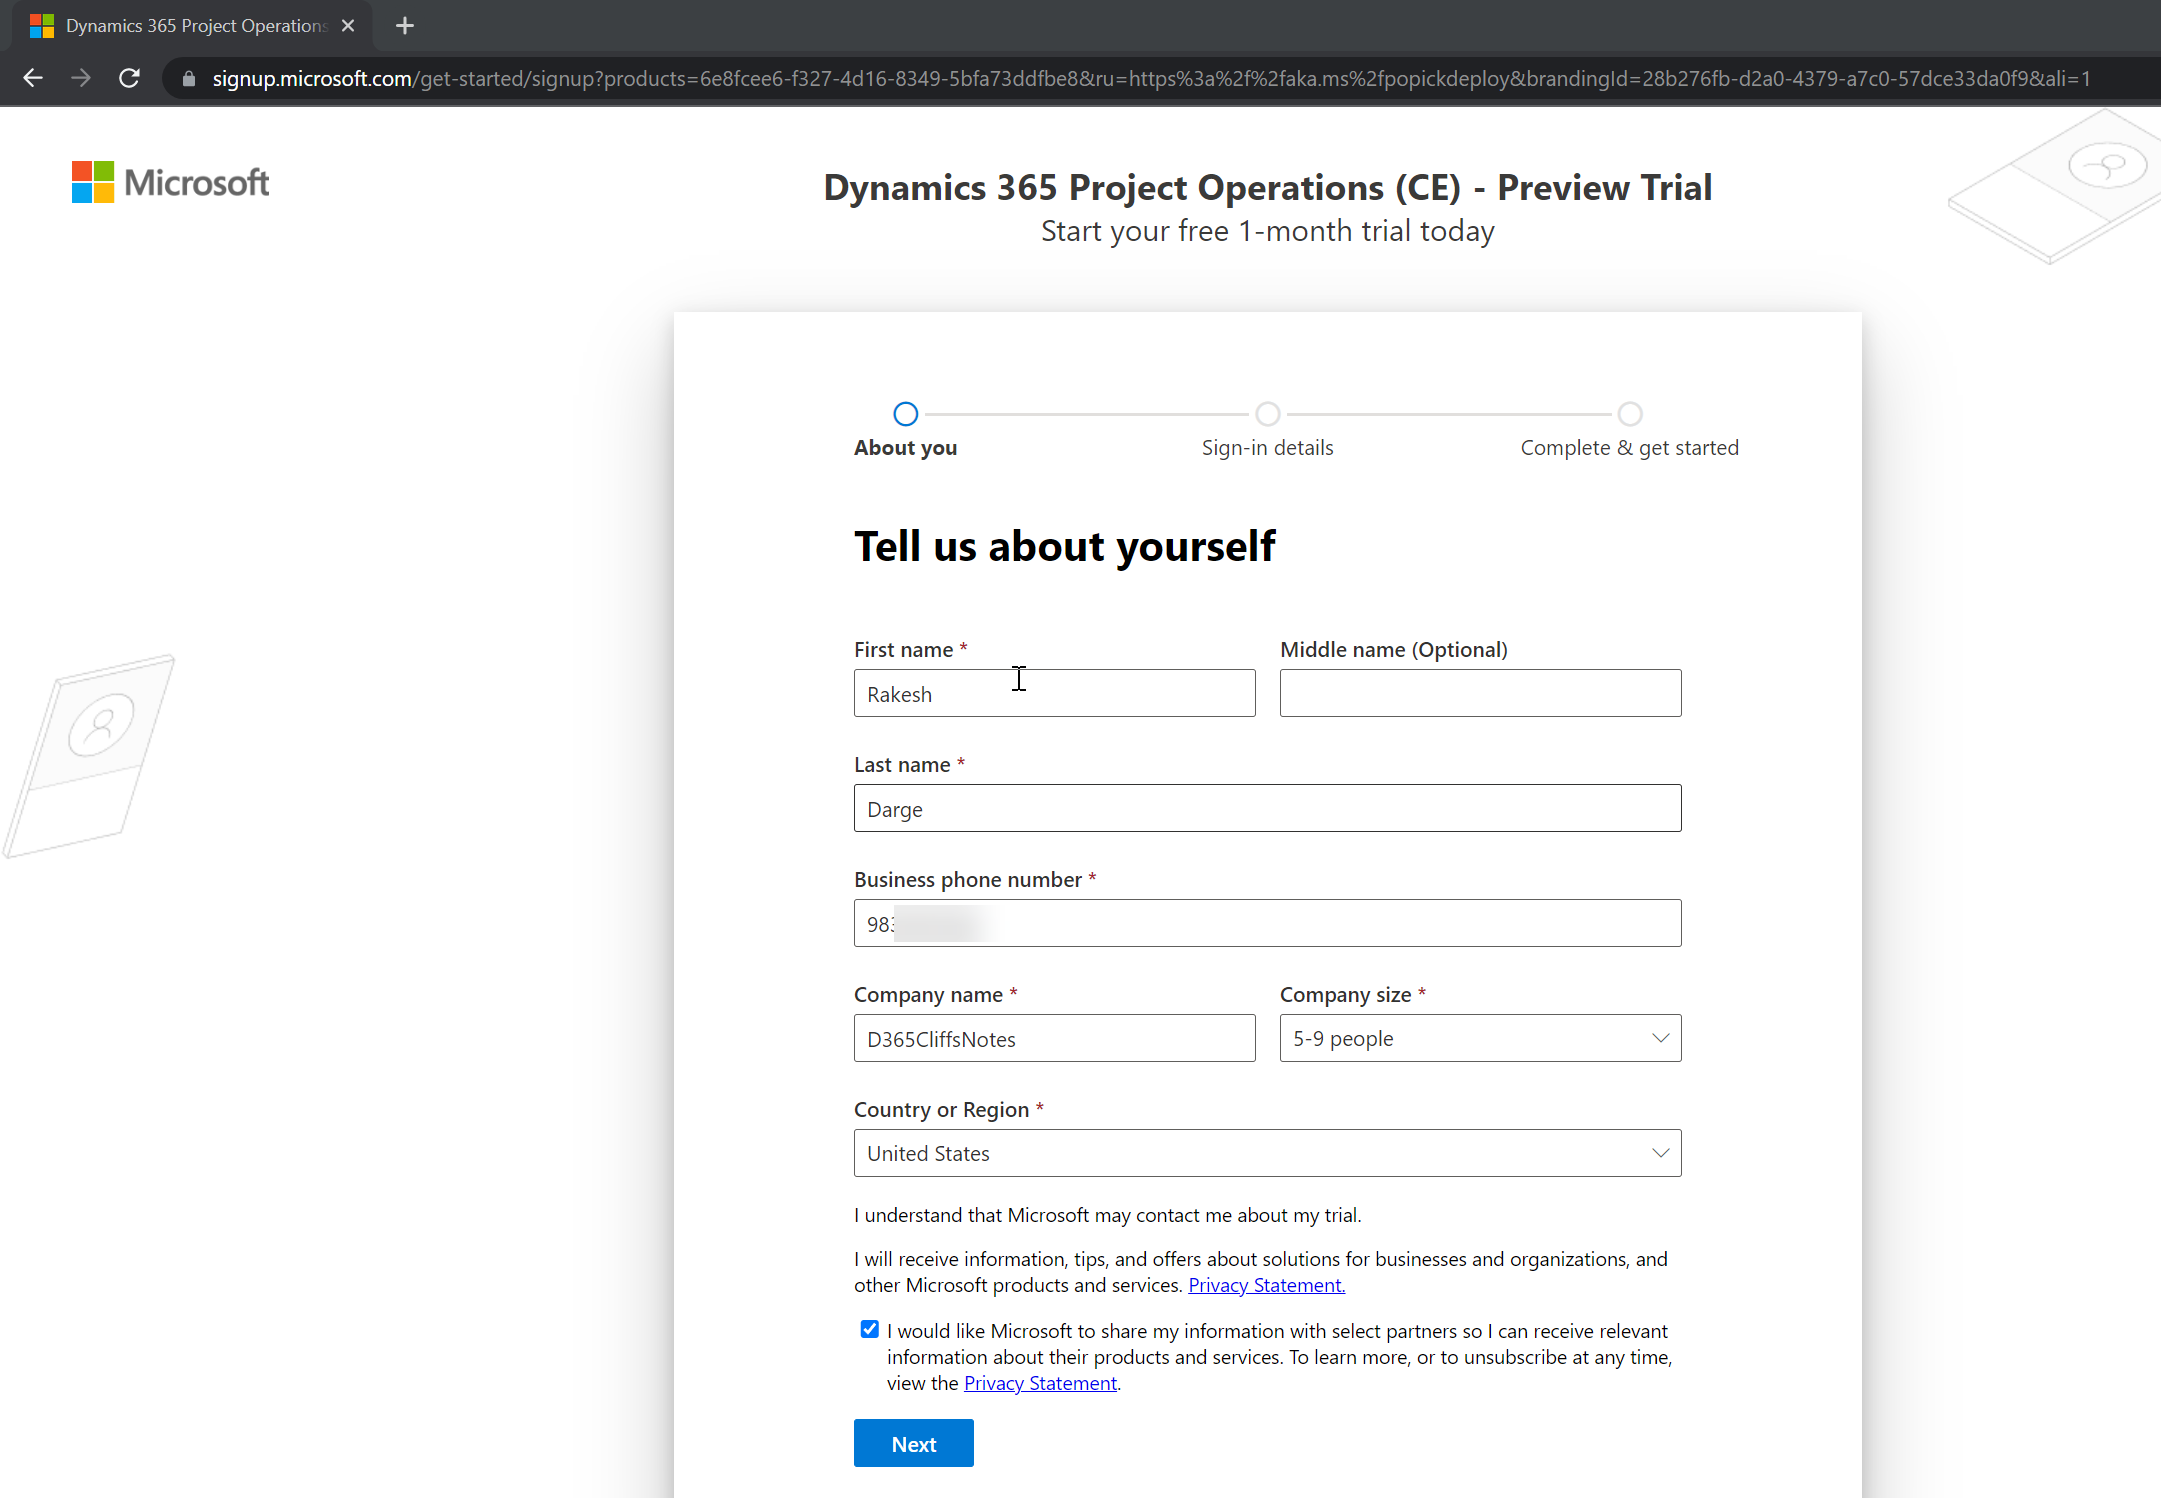
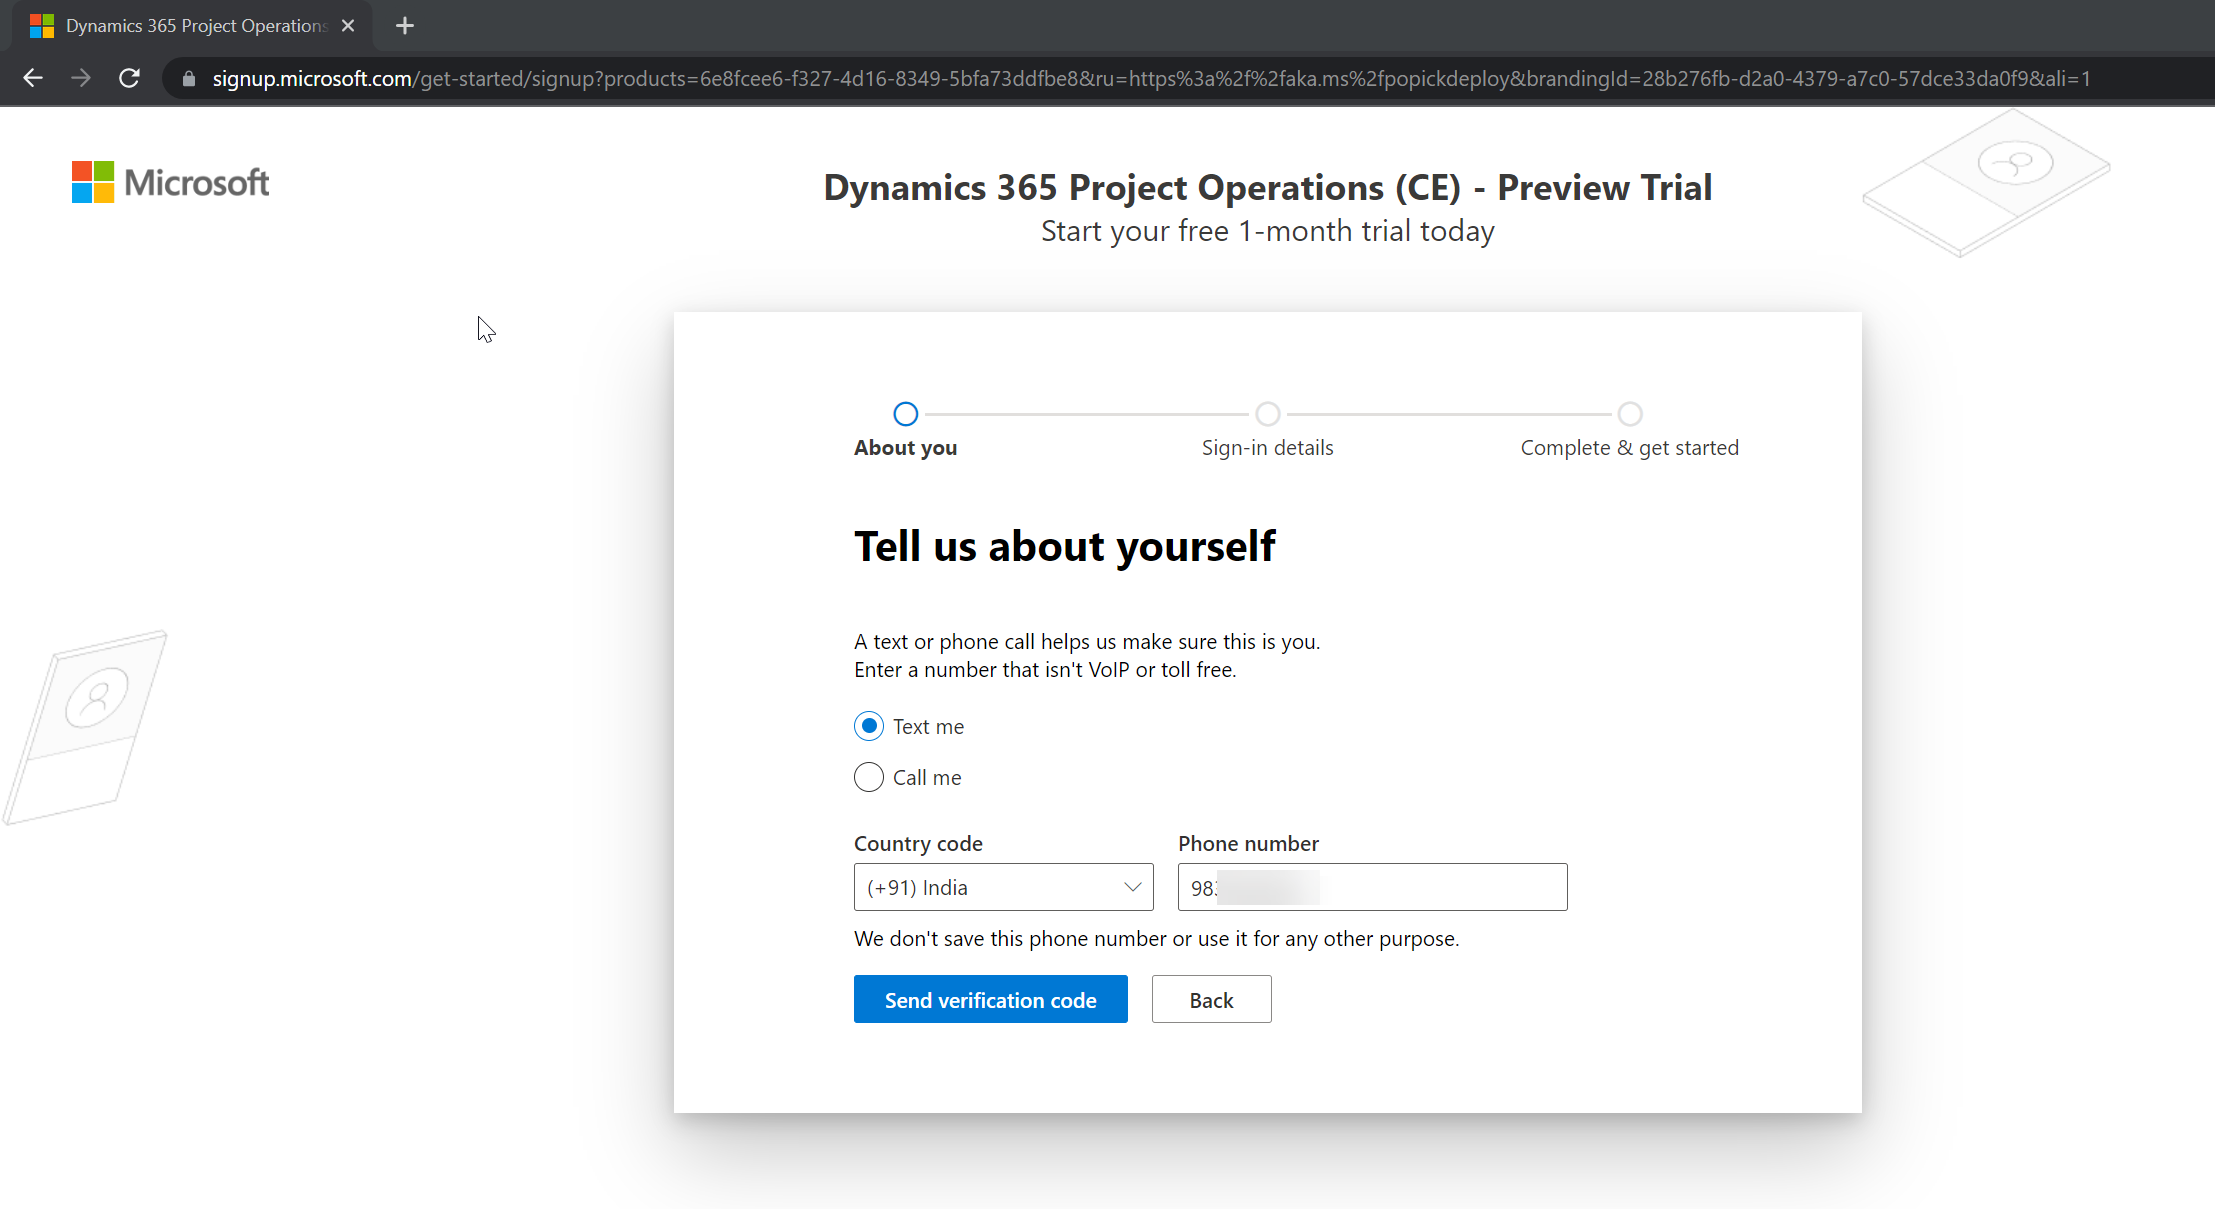
Step 4: Tell us about yourself
Fill out the required fields
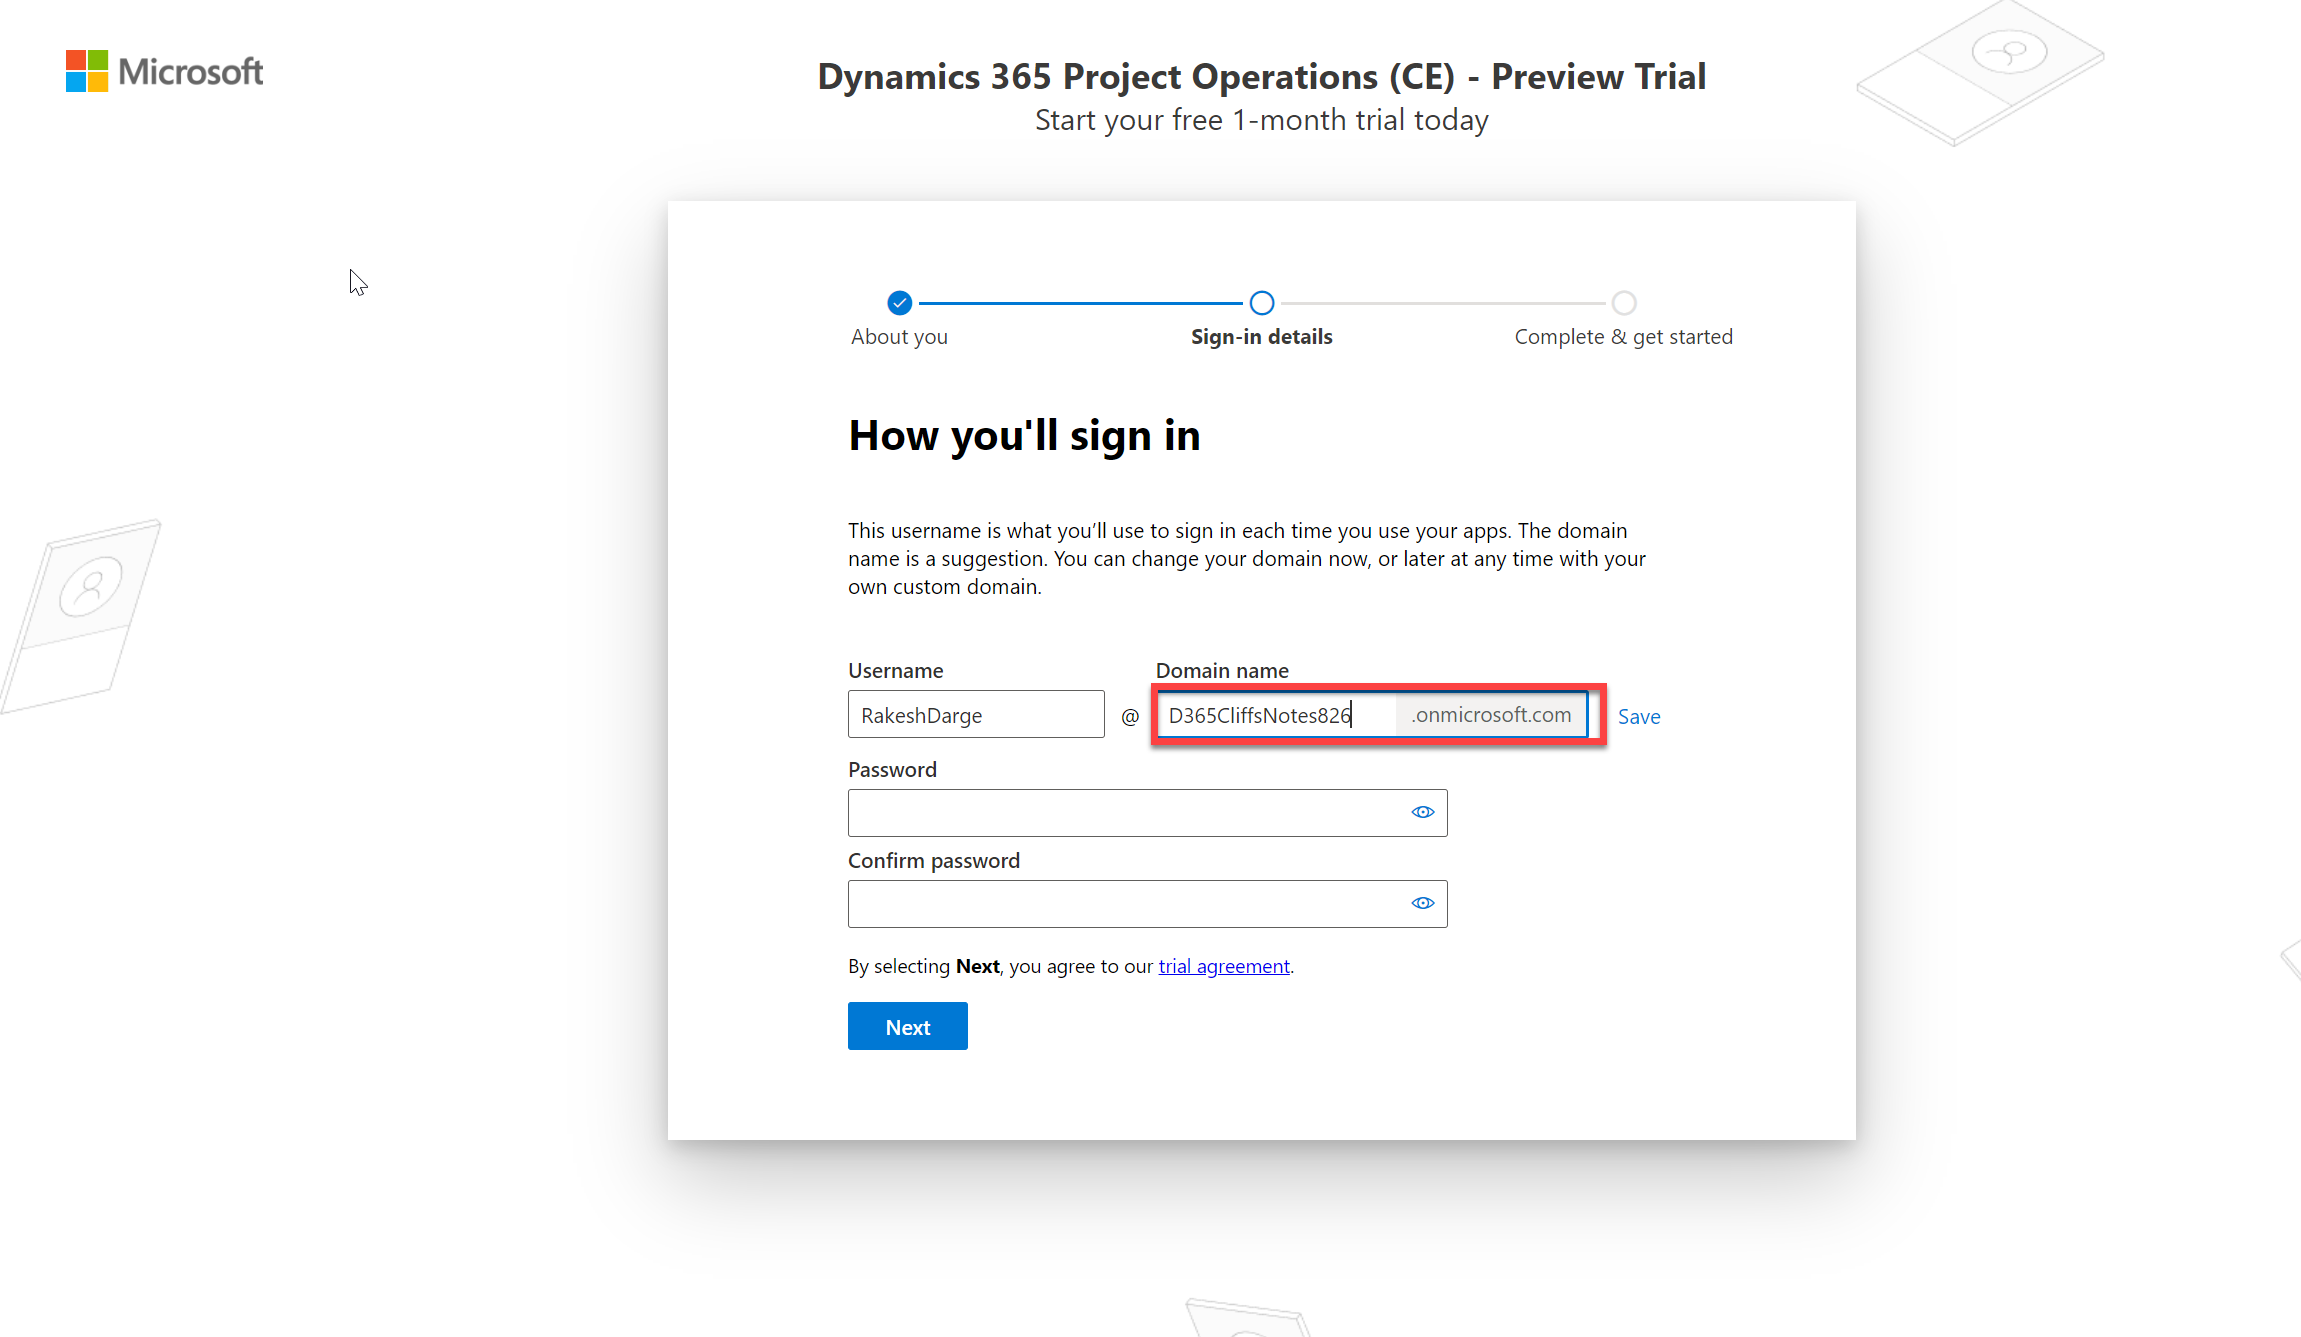
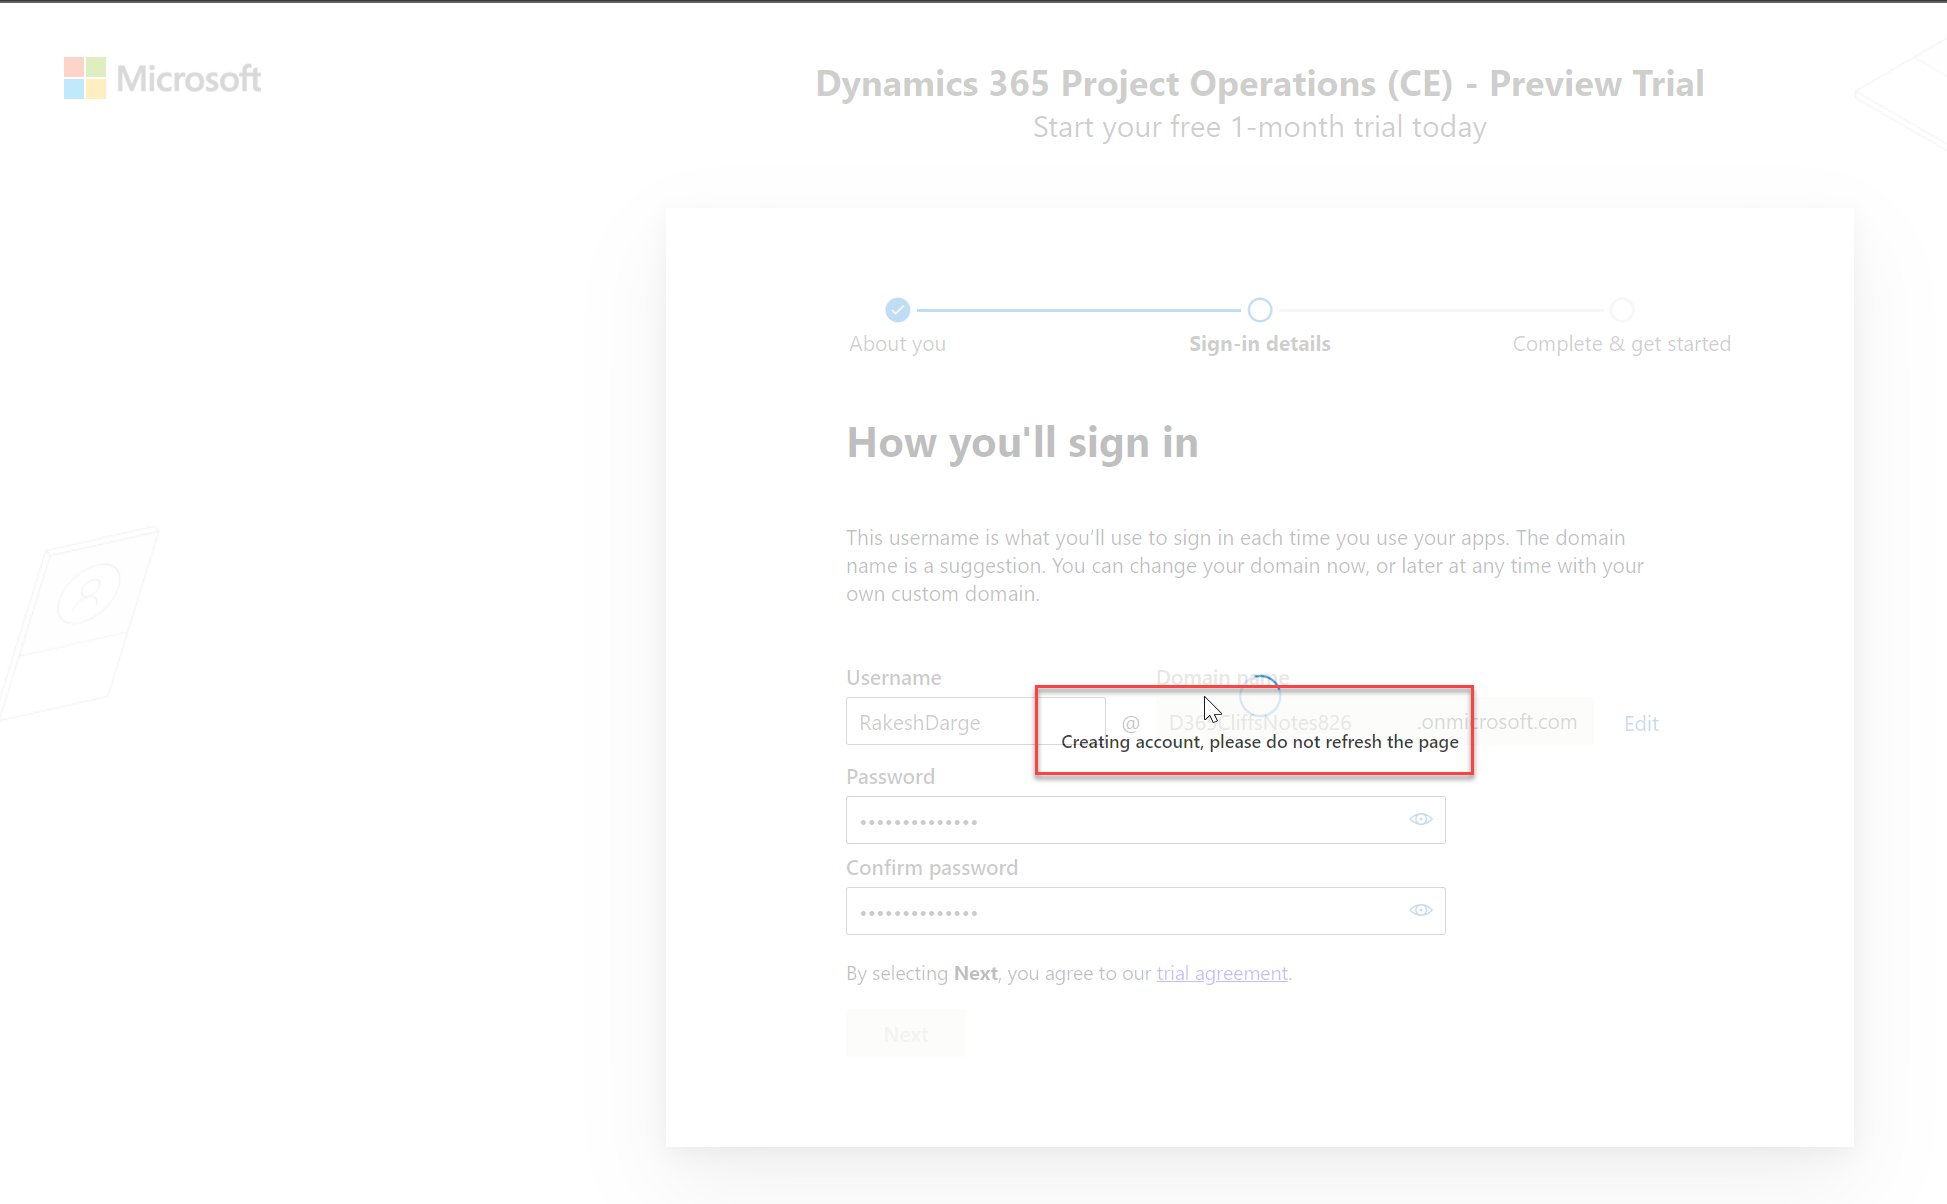
Step 5: Sign-in Information
Enter the domain name and click on Next
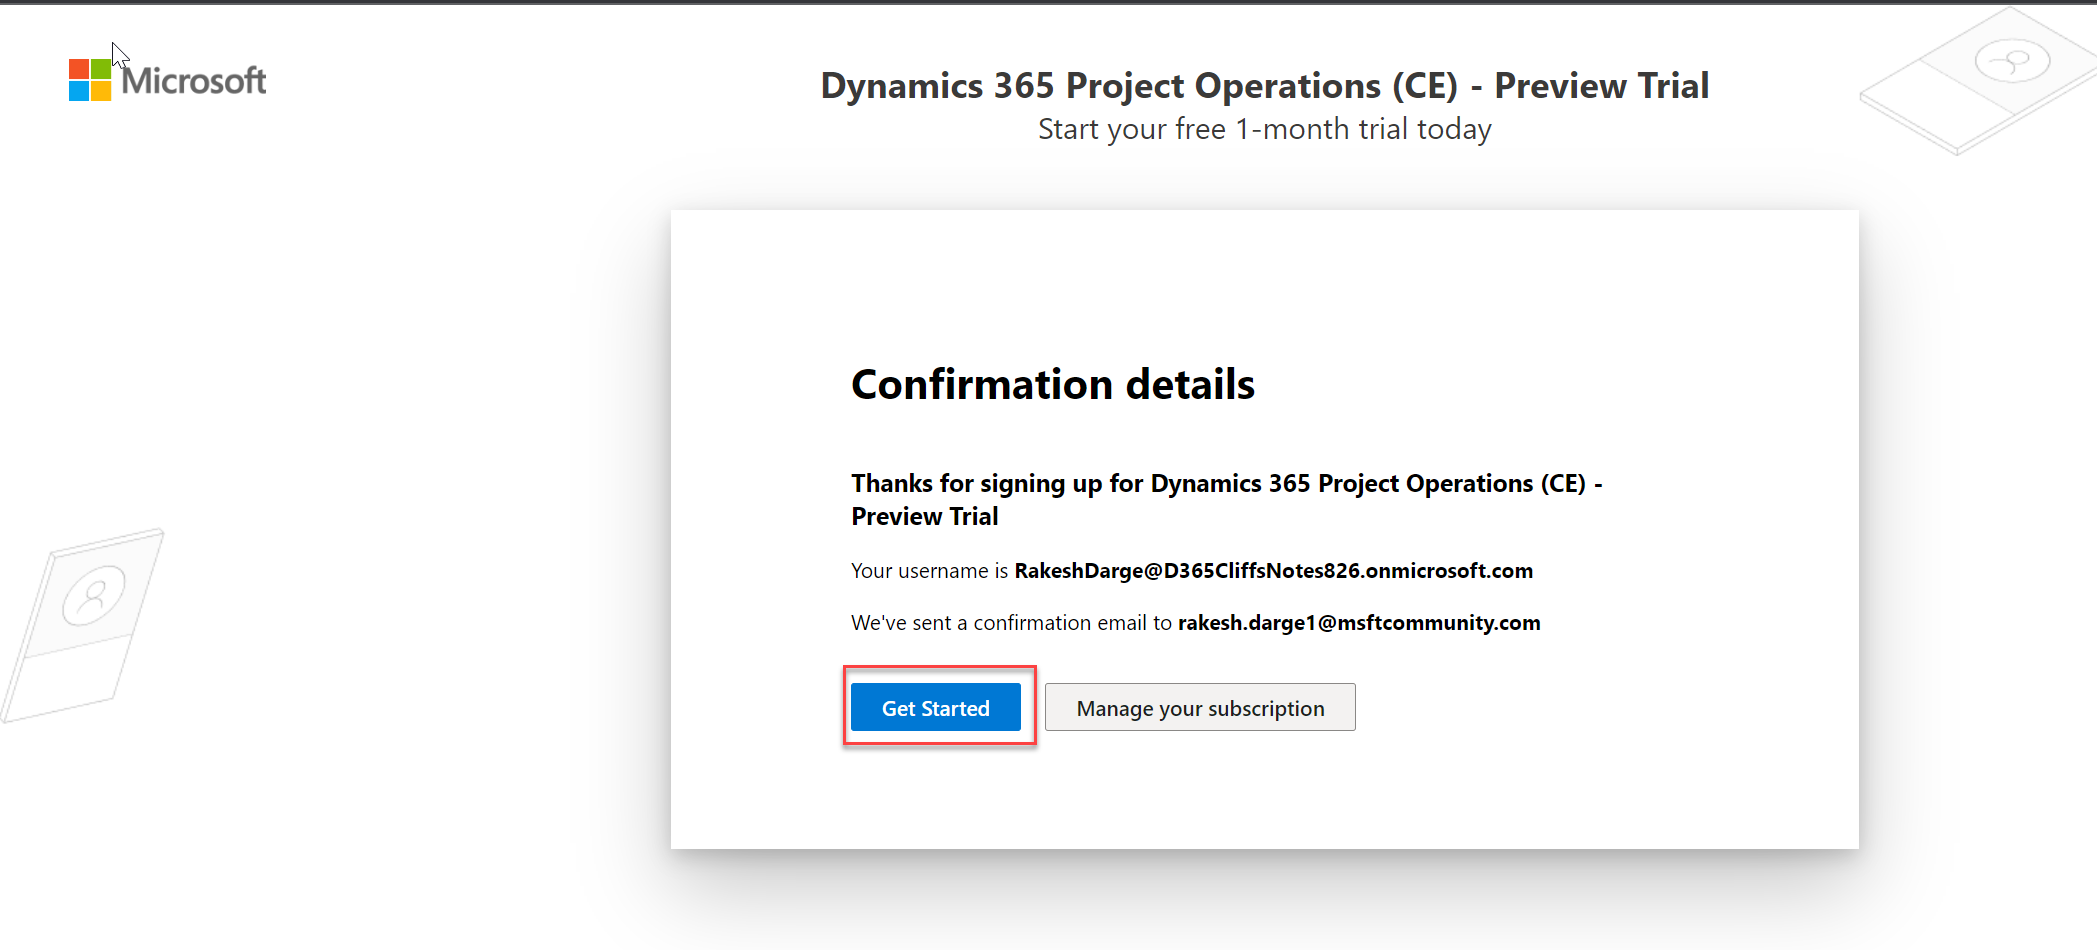
Step 6: Confirm the details, before getting started
Click on Get started
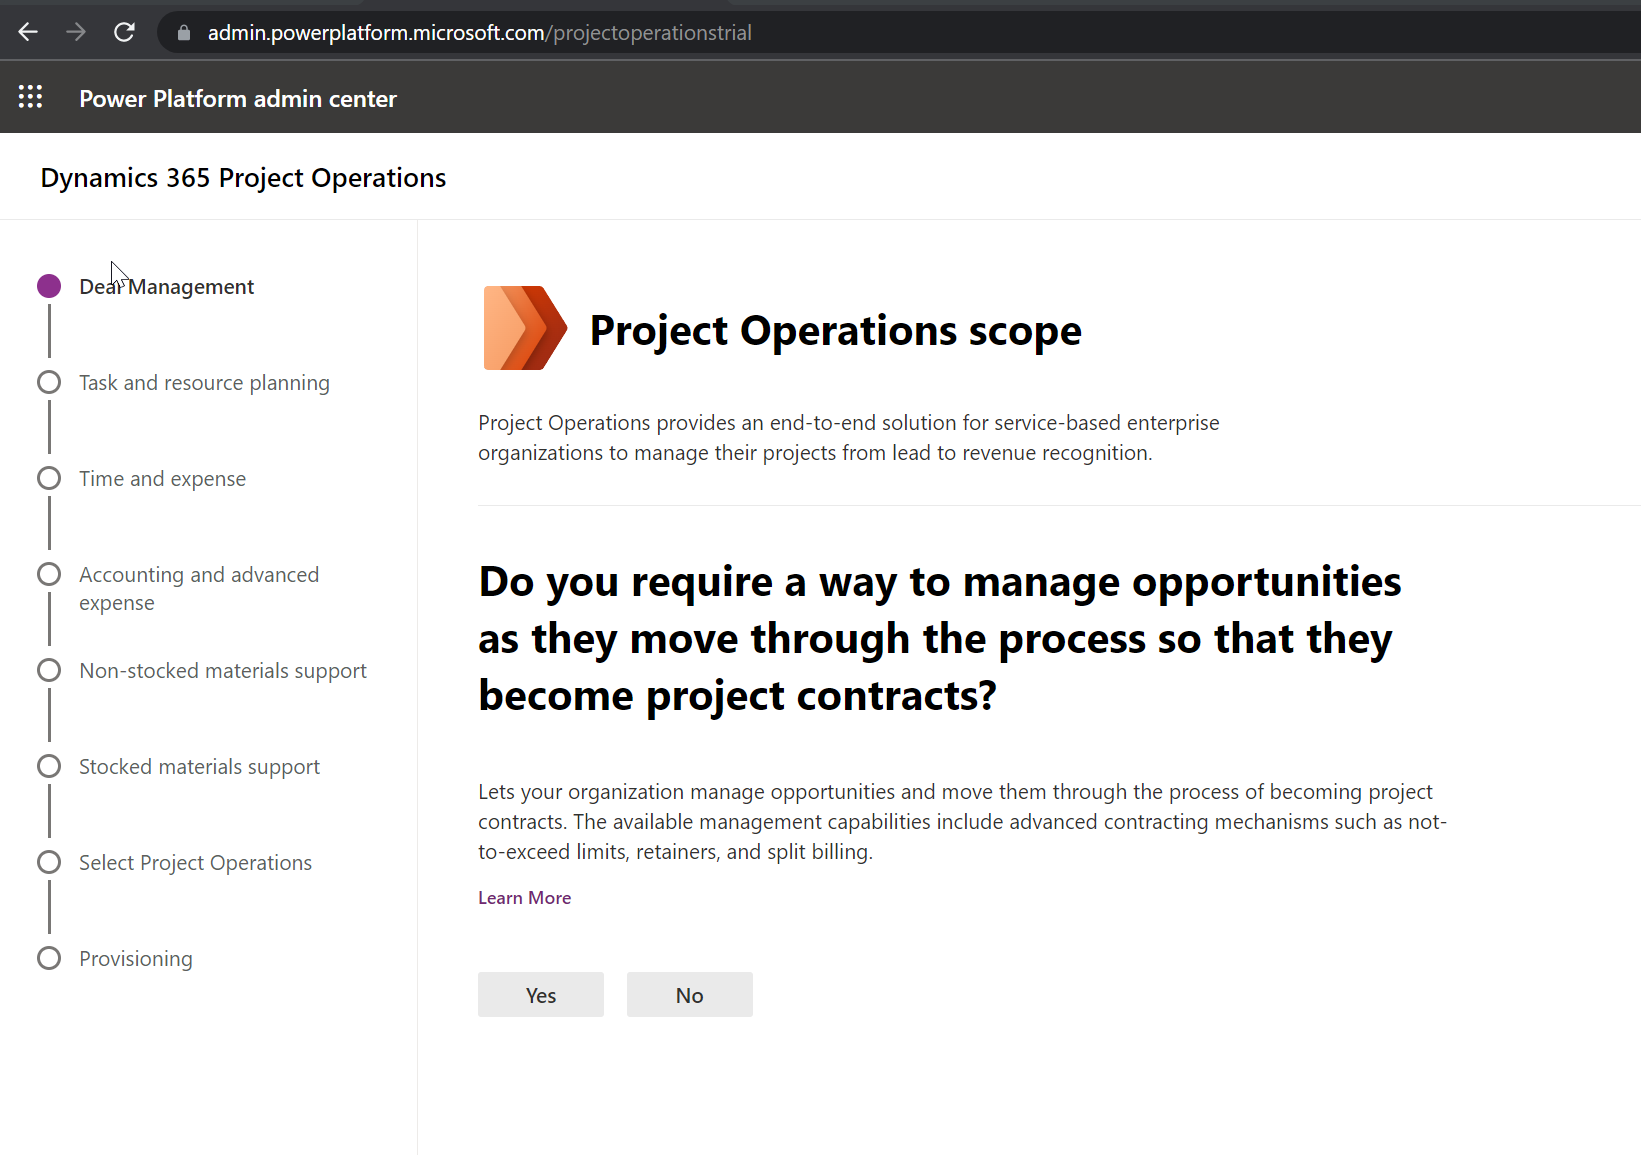
Step 7: Select the Project Operations Scope
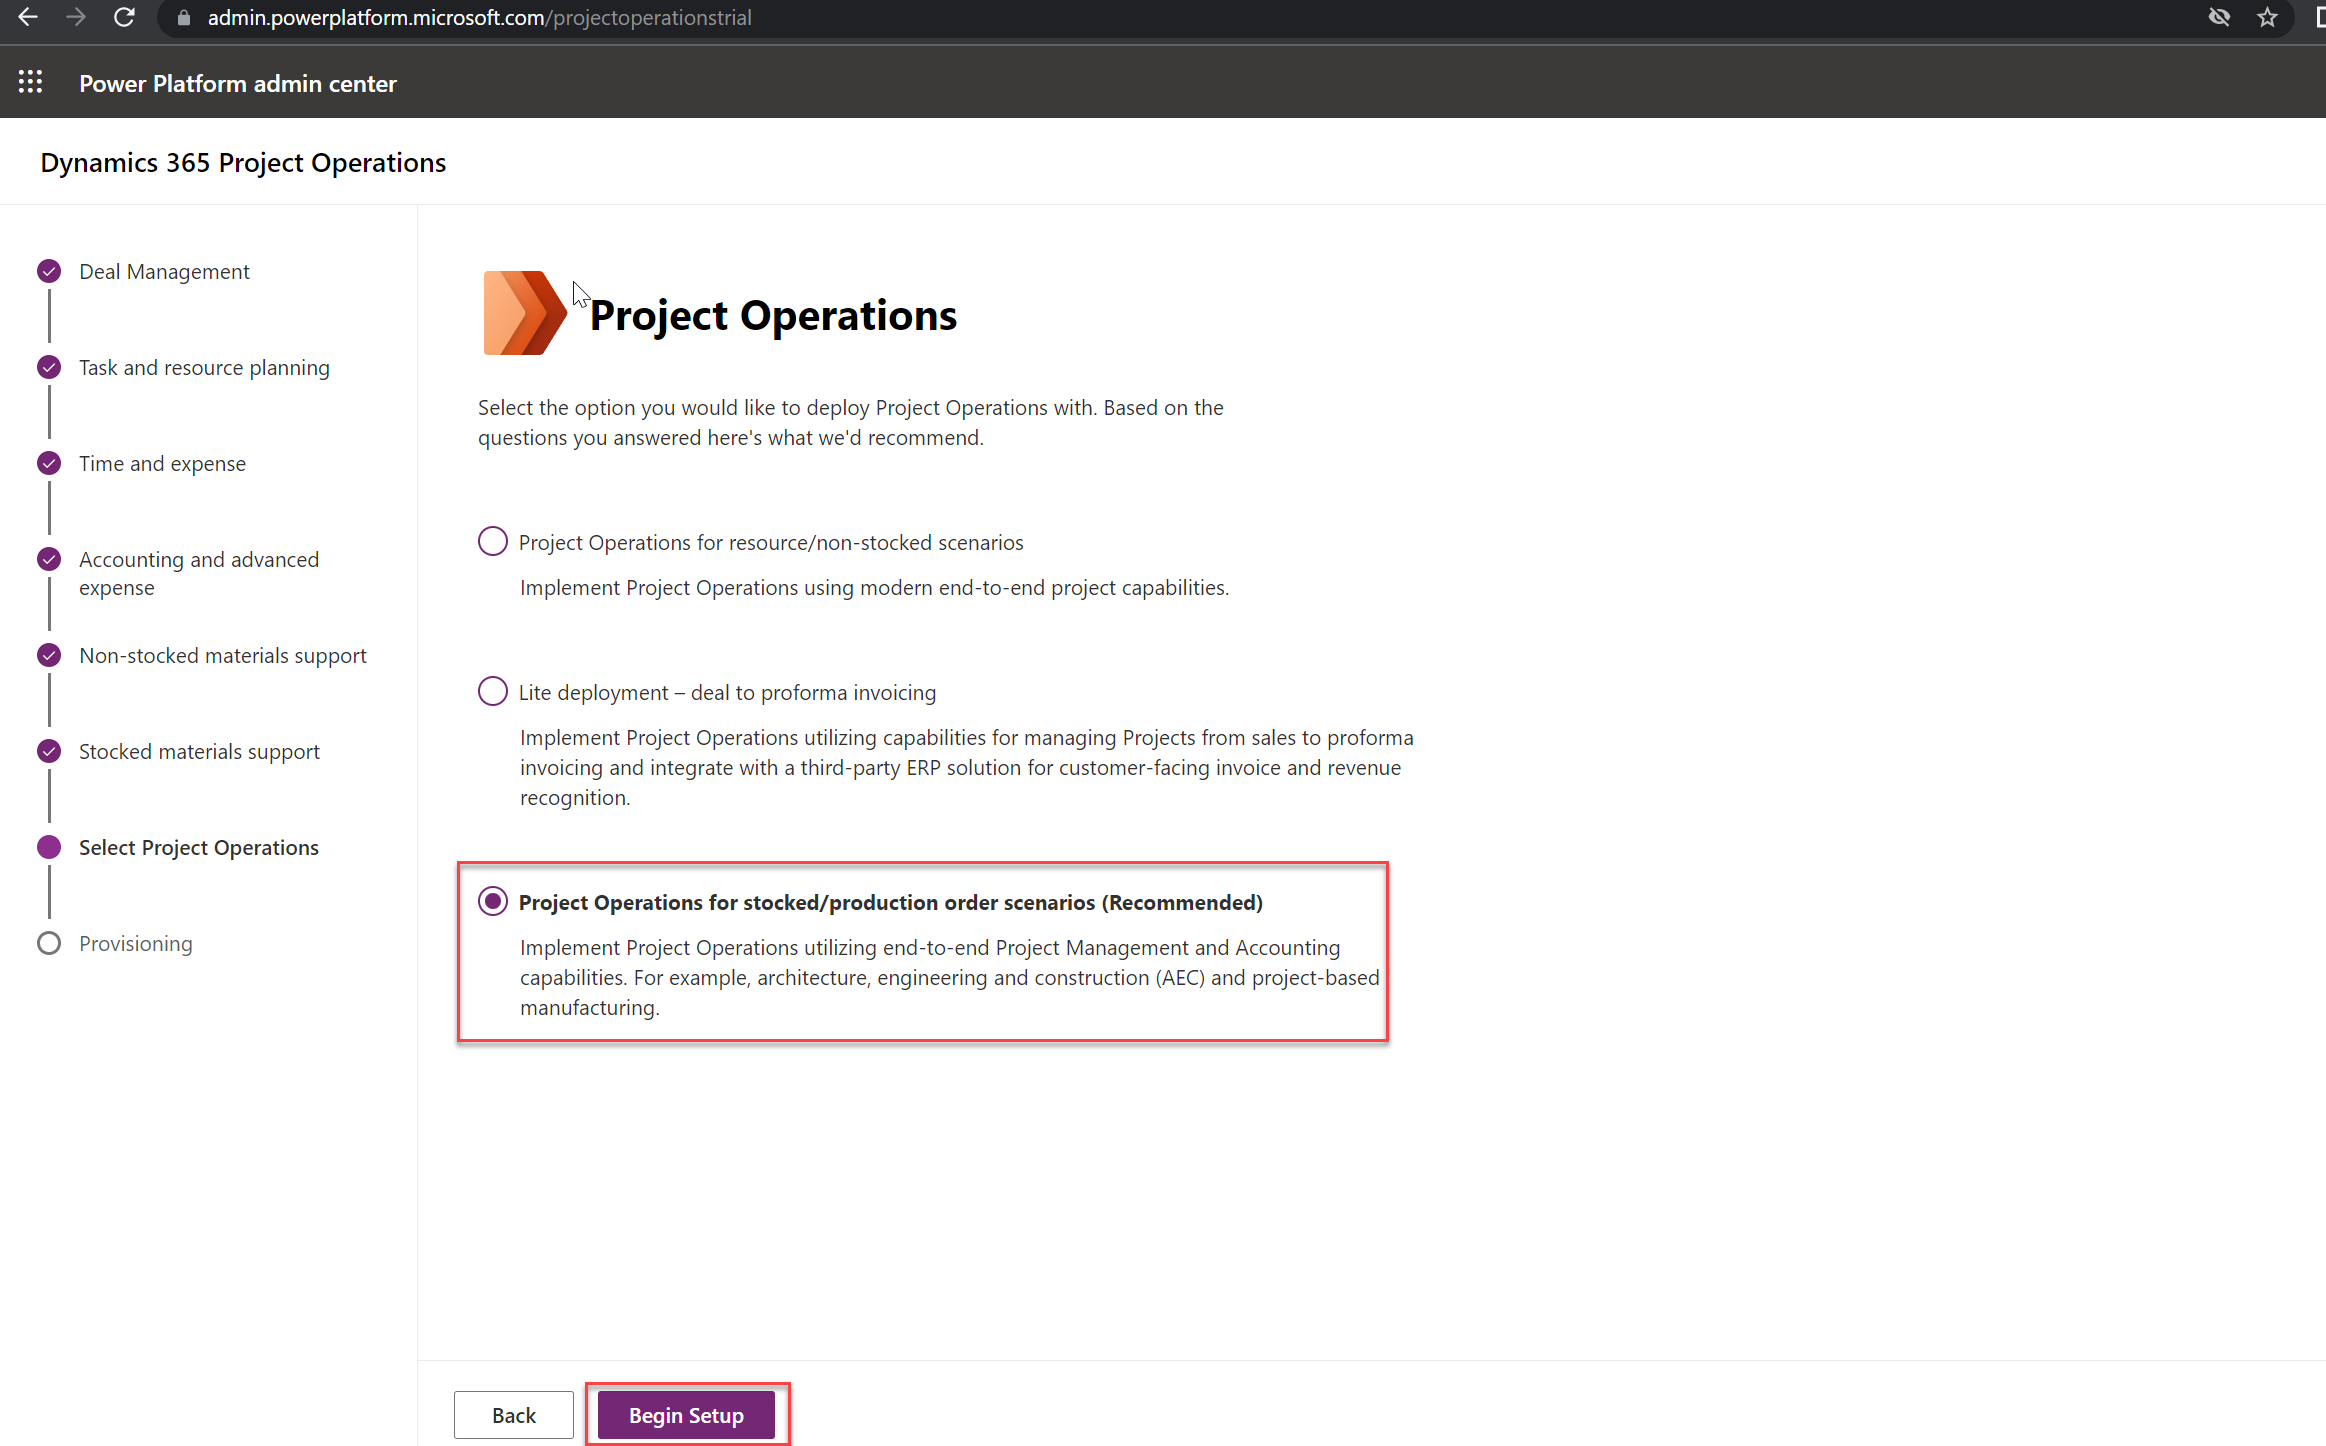
Step 8: Select the option to deploy Project Operations
In my case, I would like to utilize end-to-end project management and accounting capabilities but in your case, it might be lite deployment or resource/non-stock scenarios
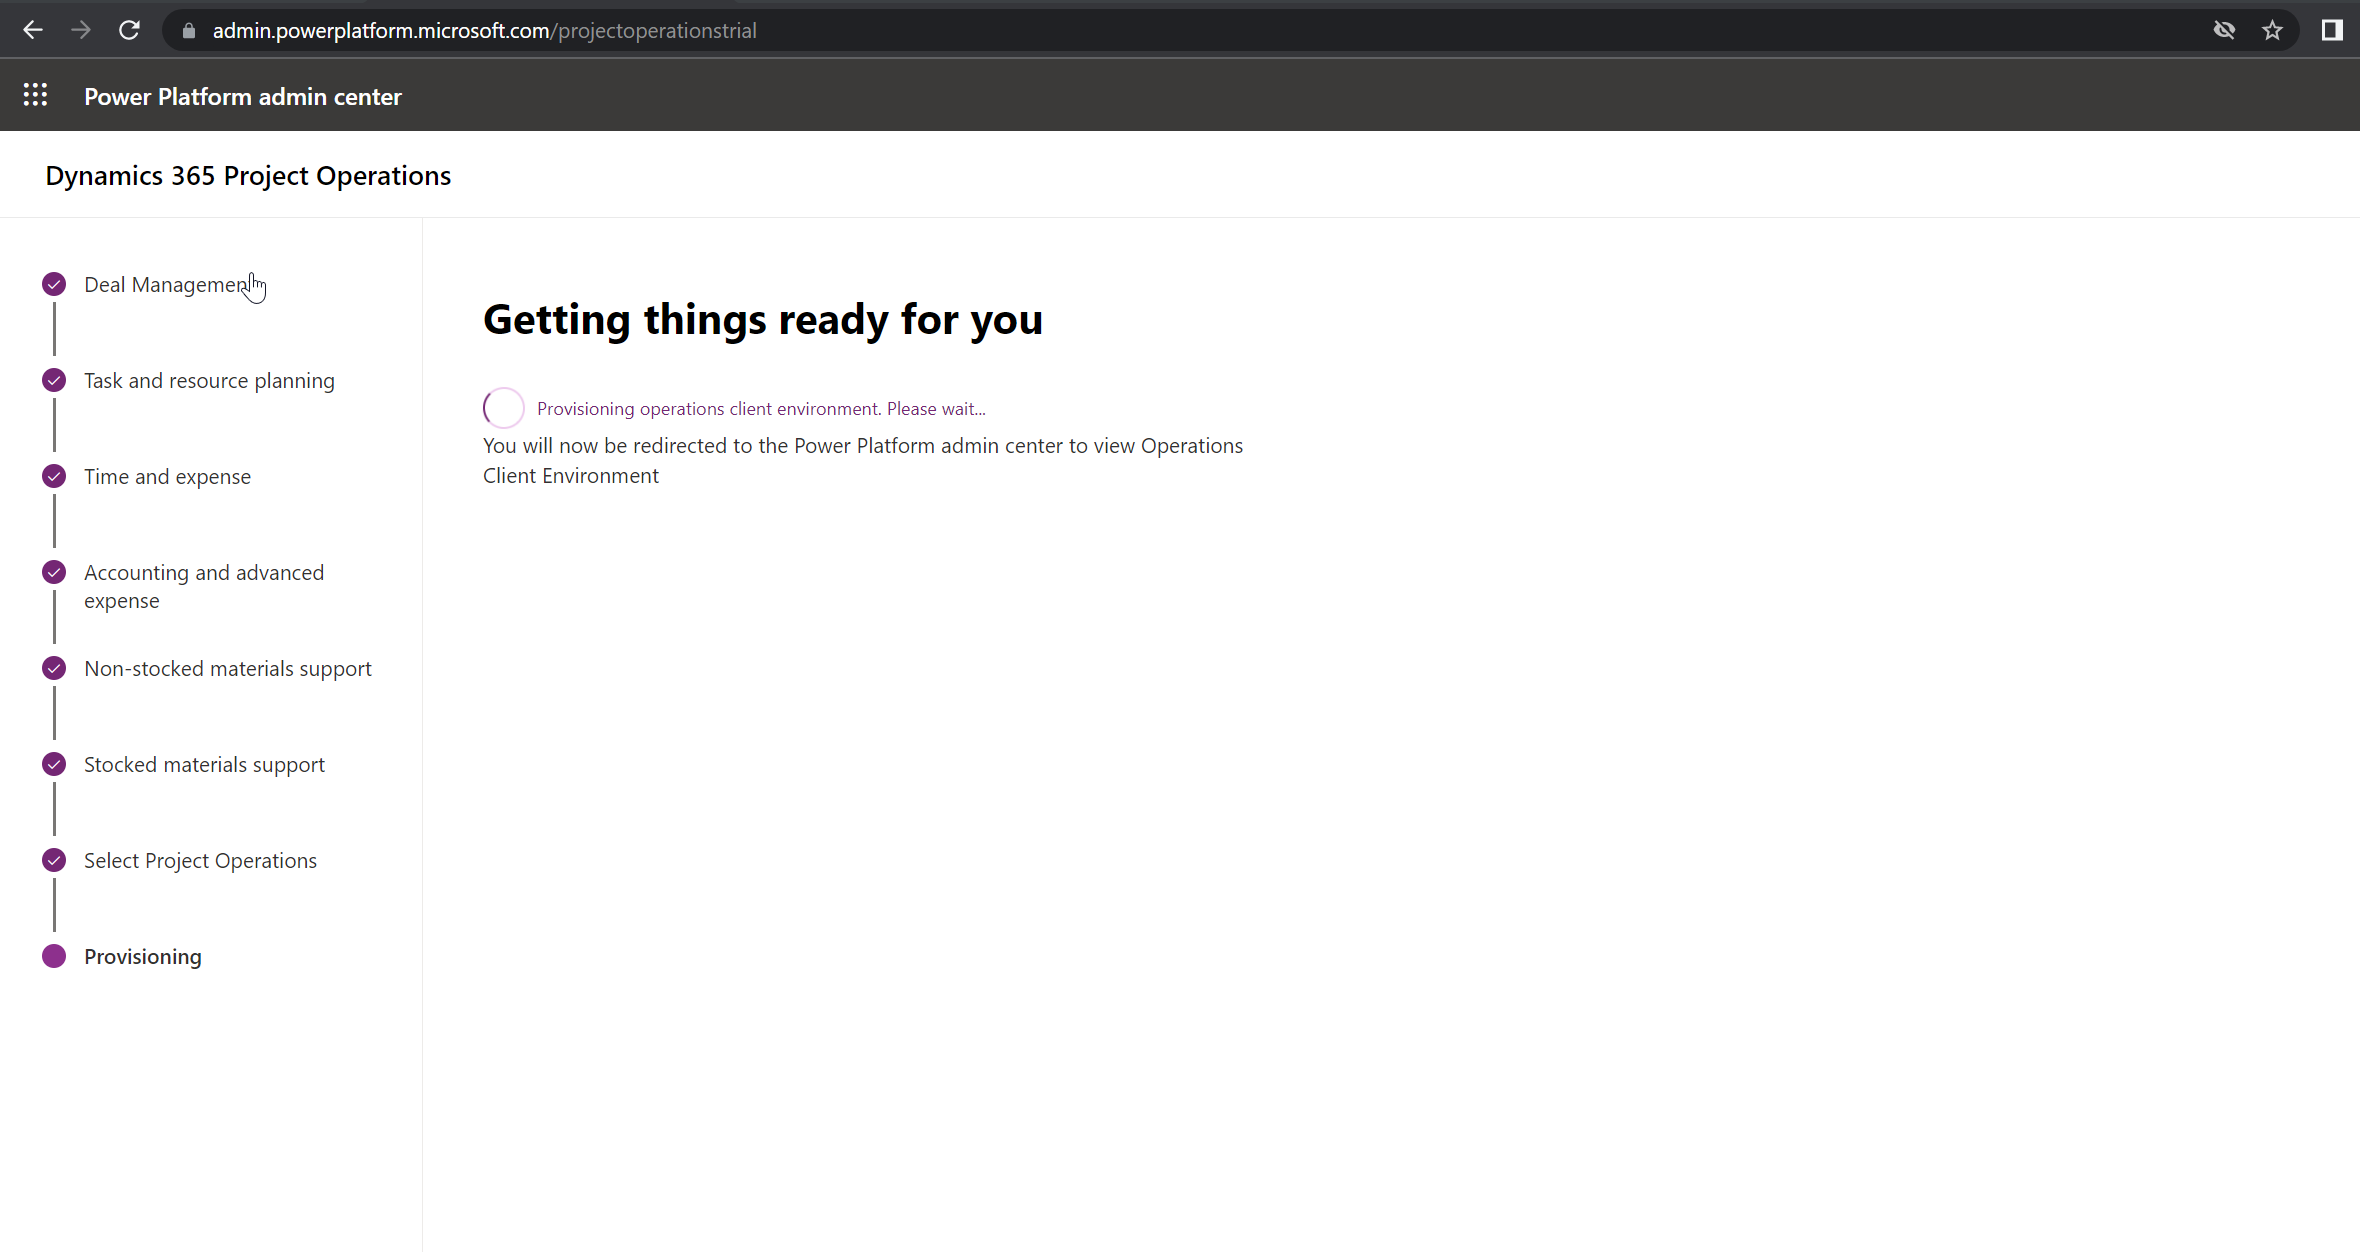
Step 9: Getting things ready for you
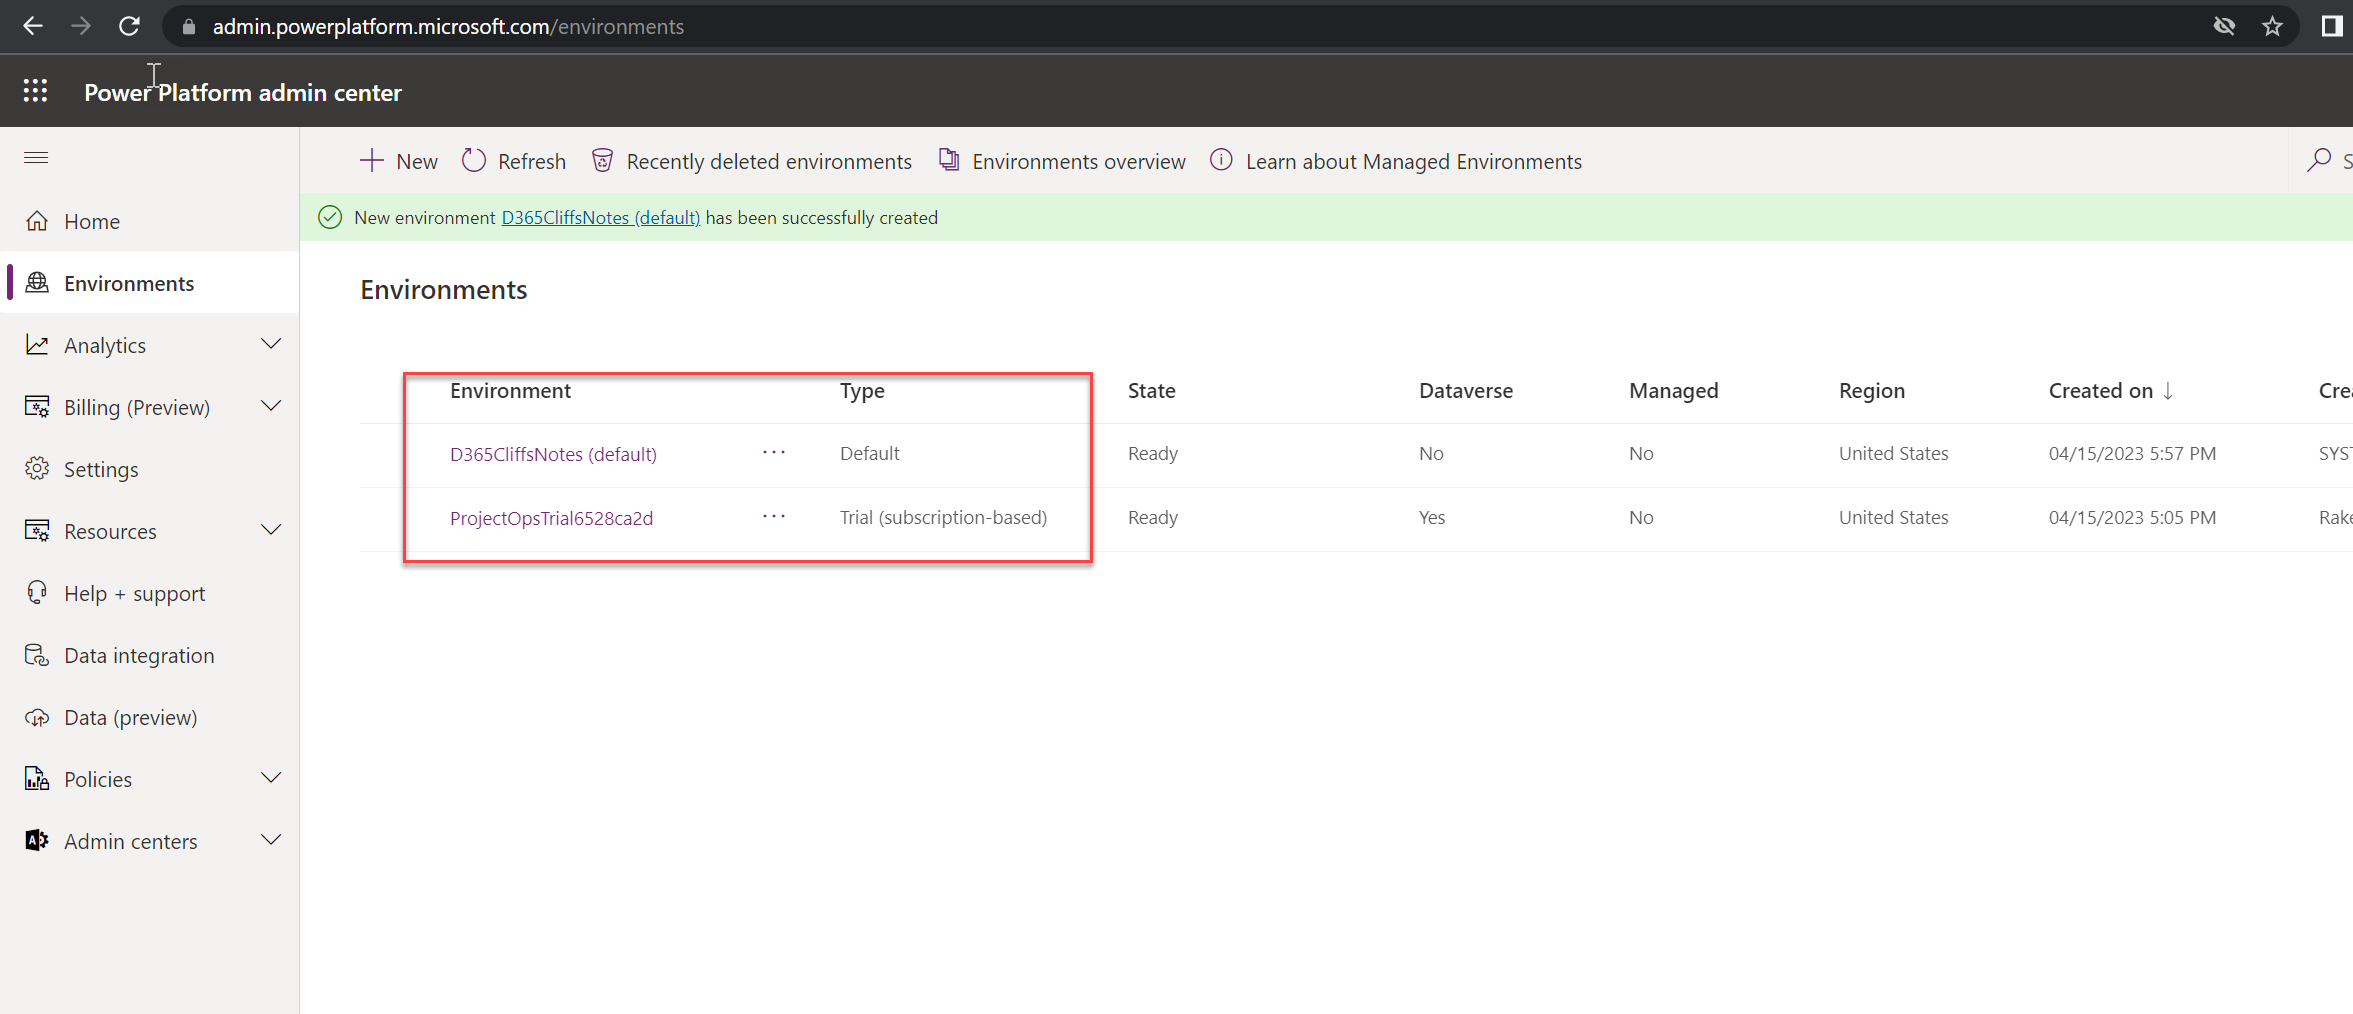
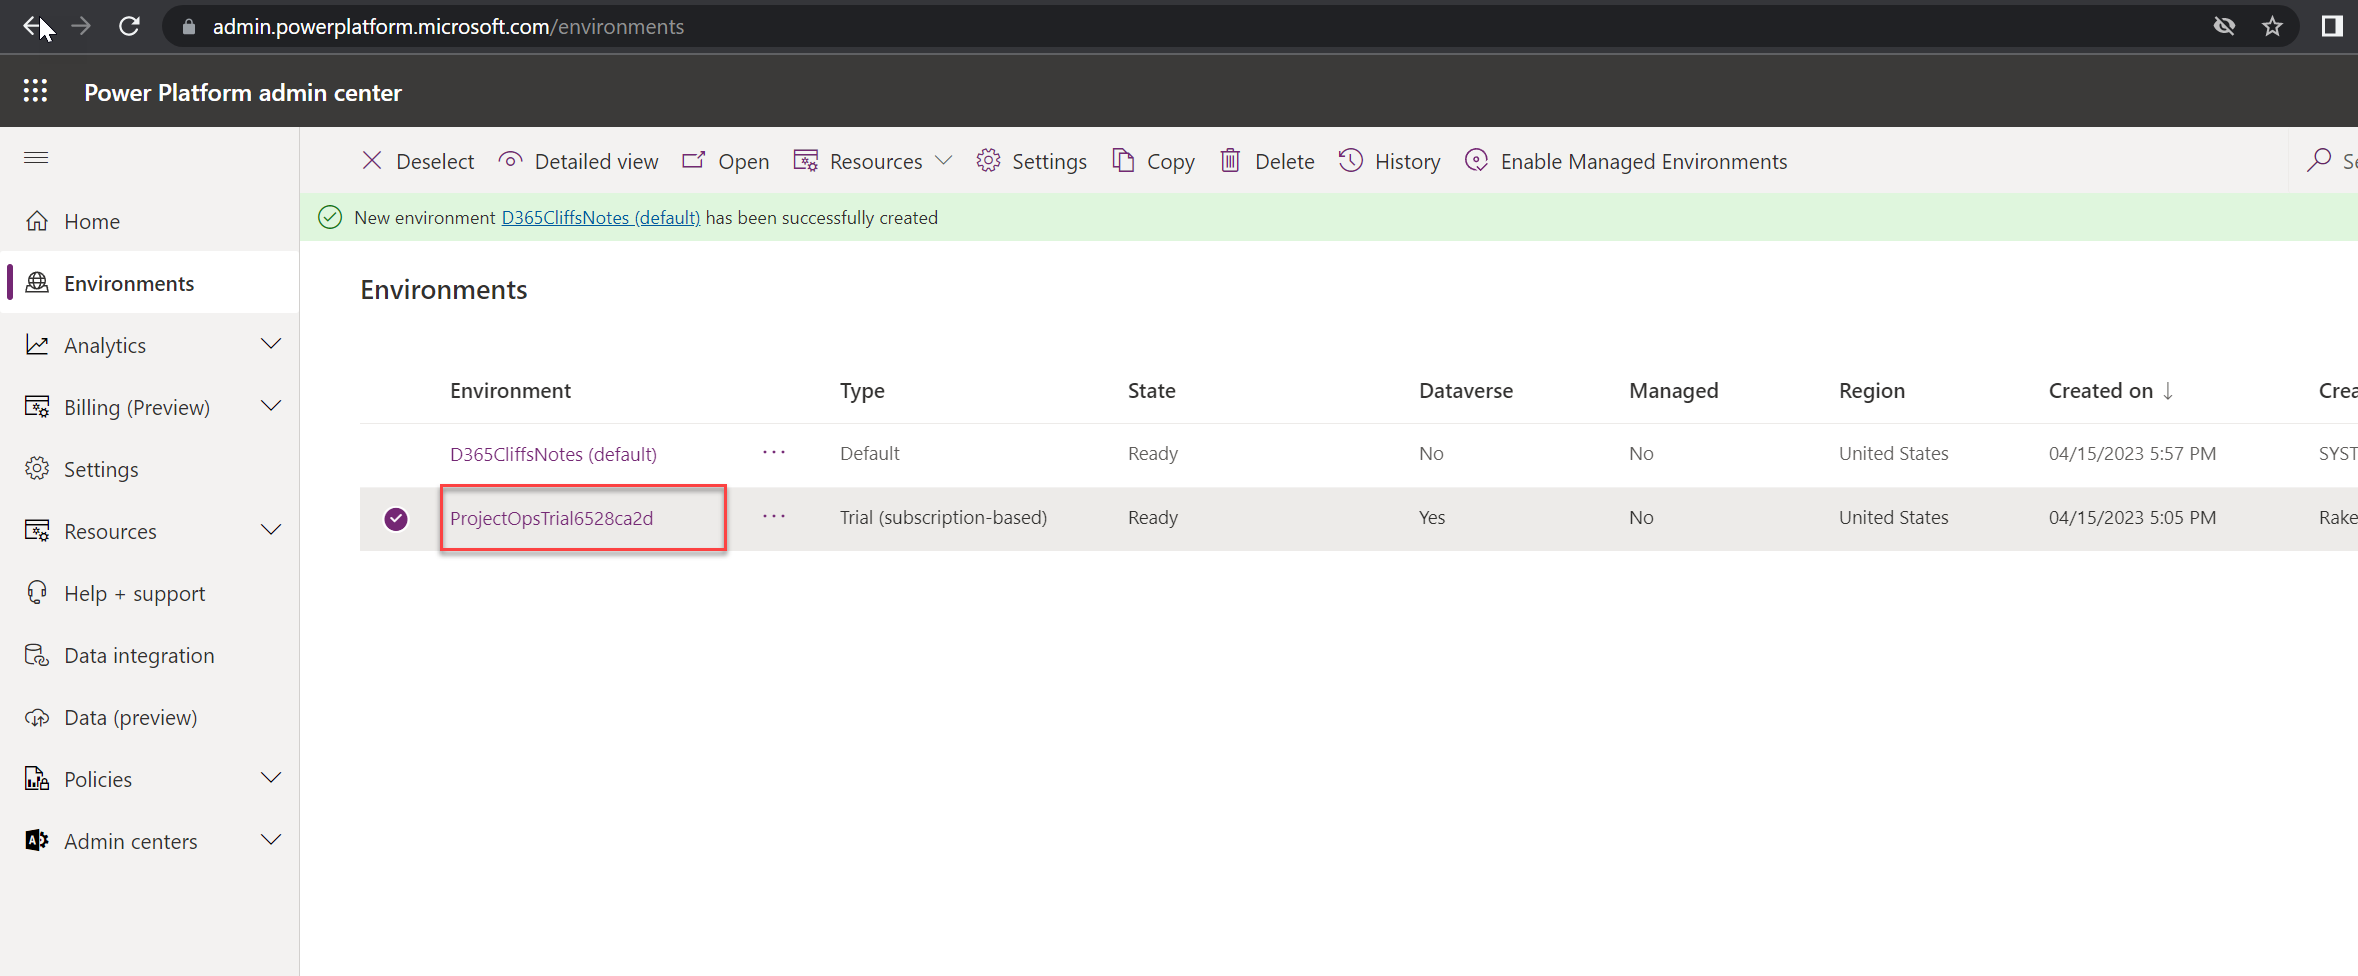
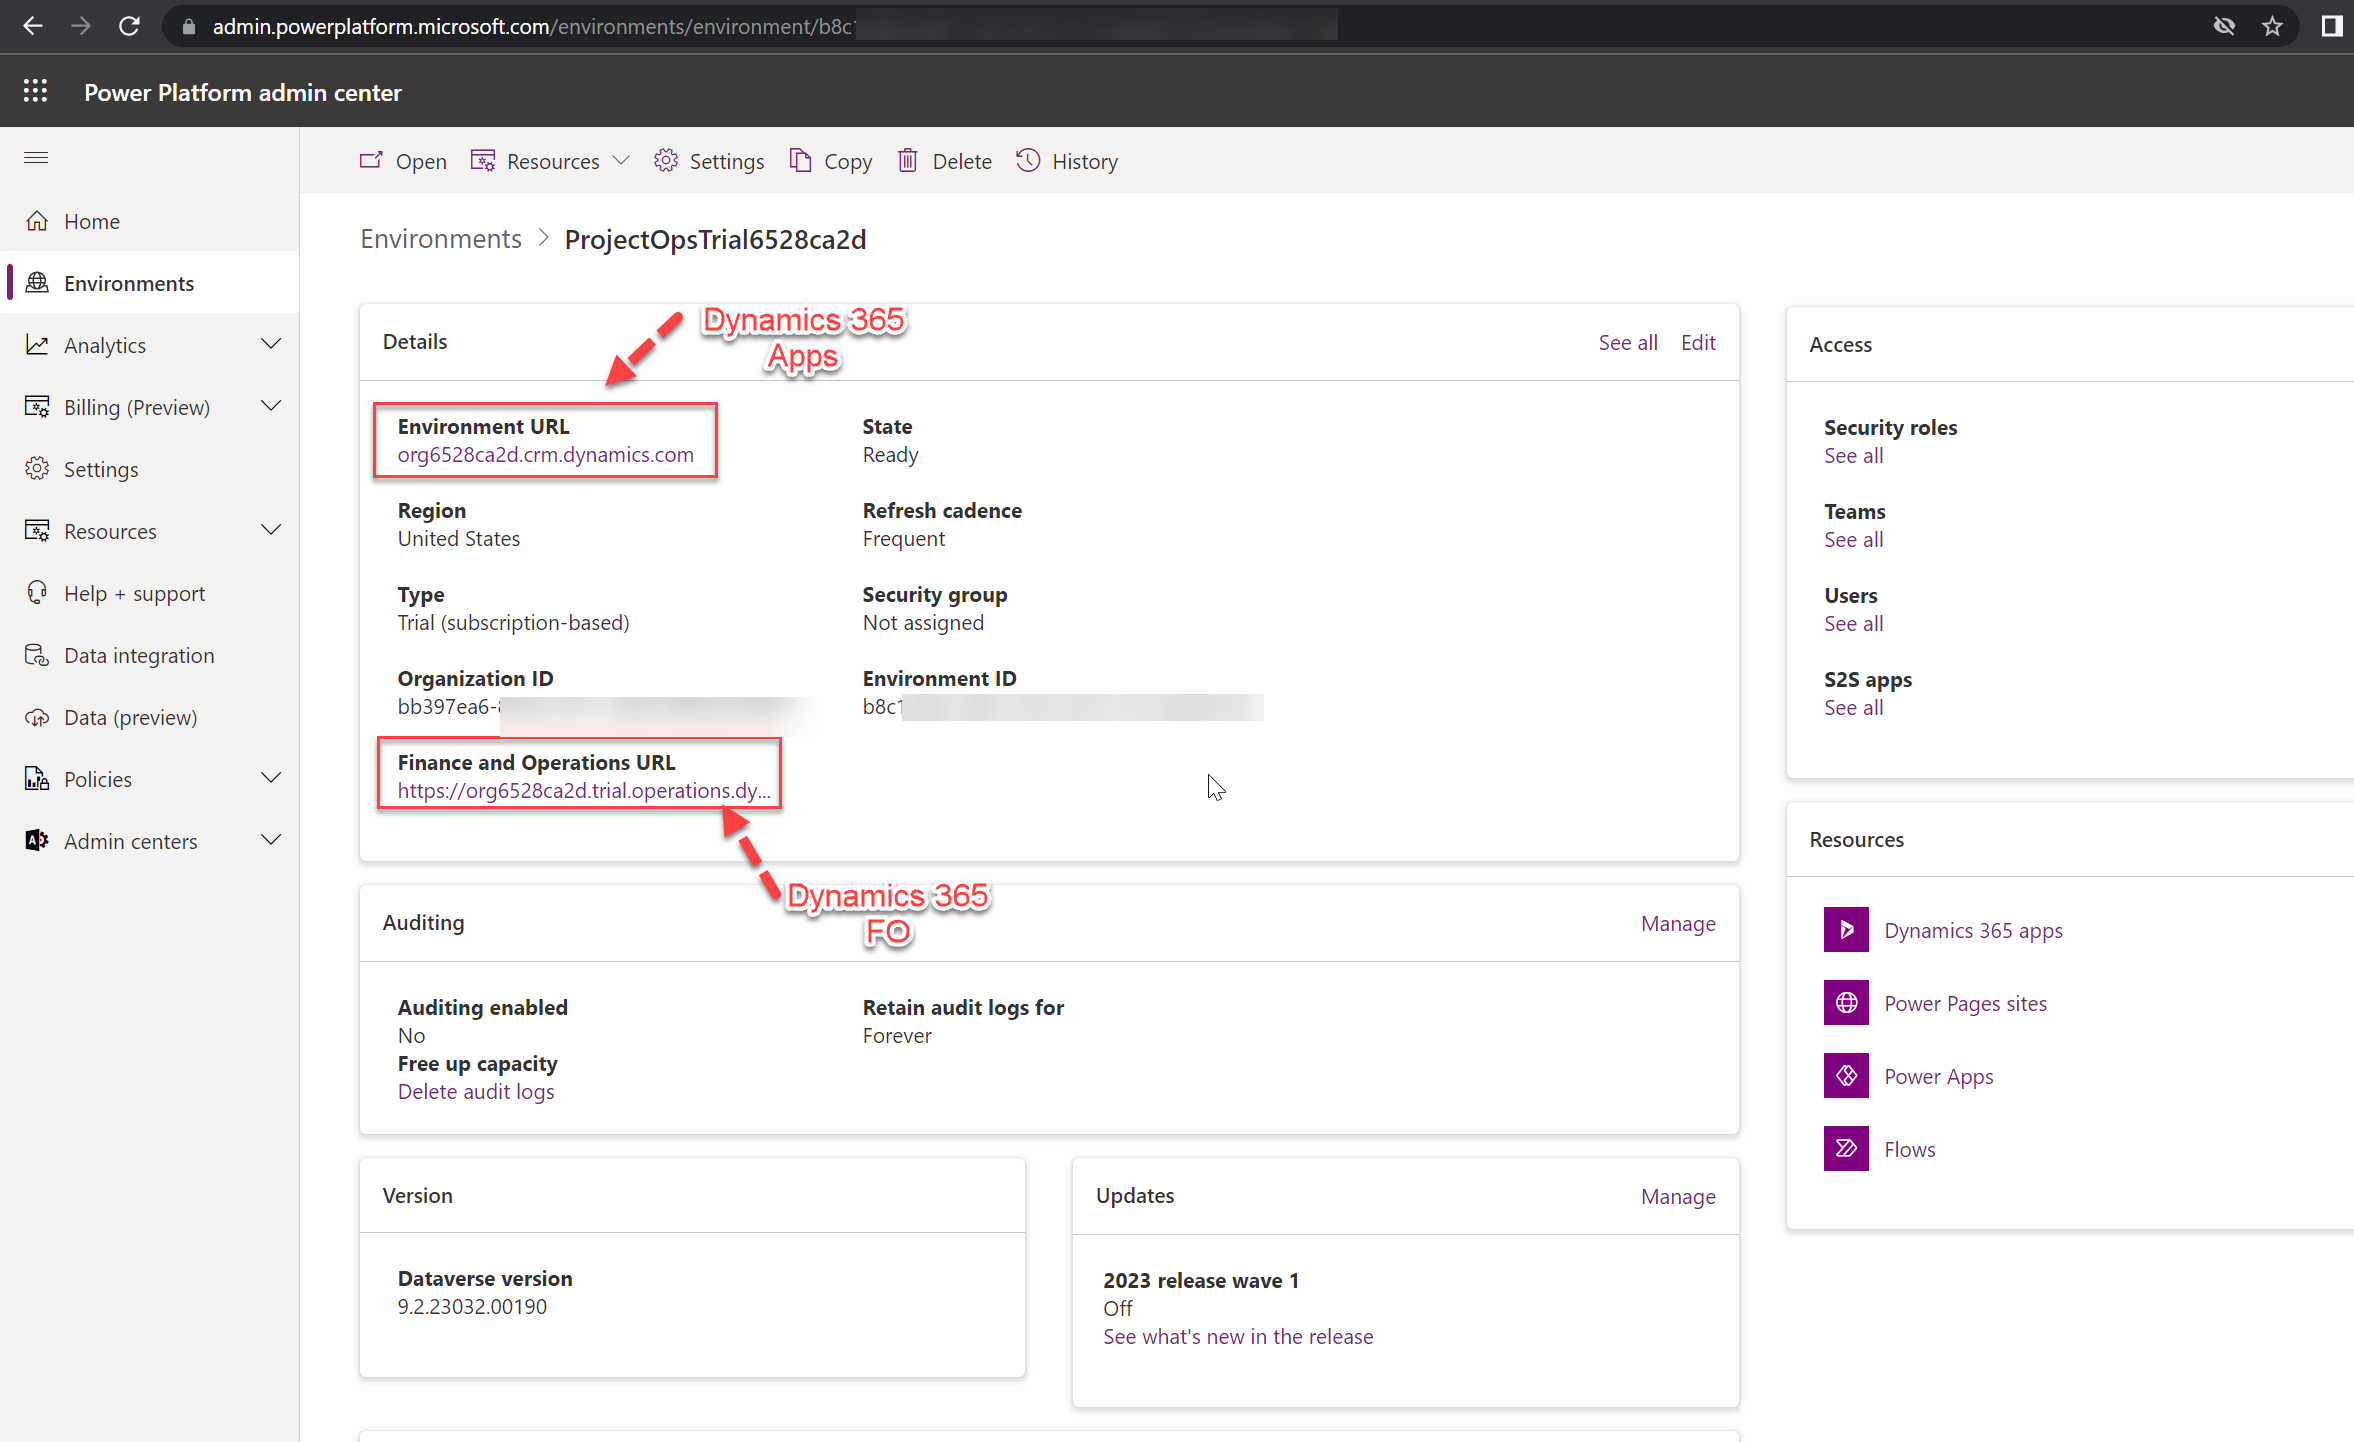
Step 10: Validate deployed environments
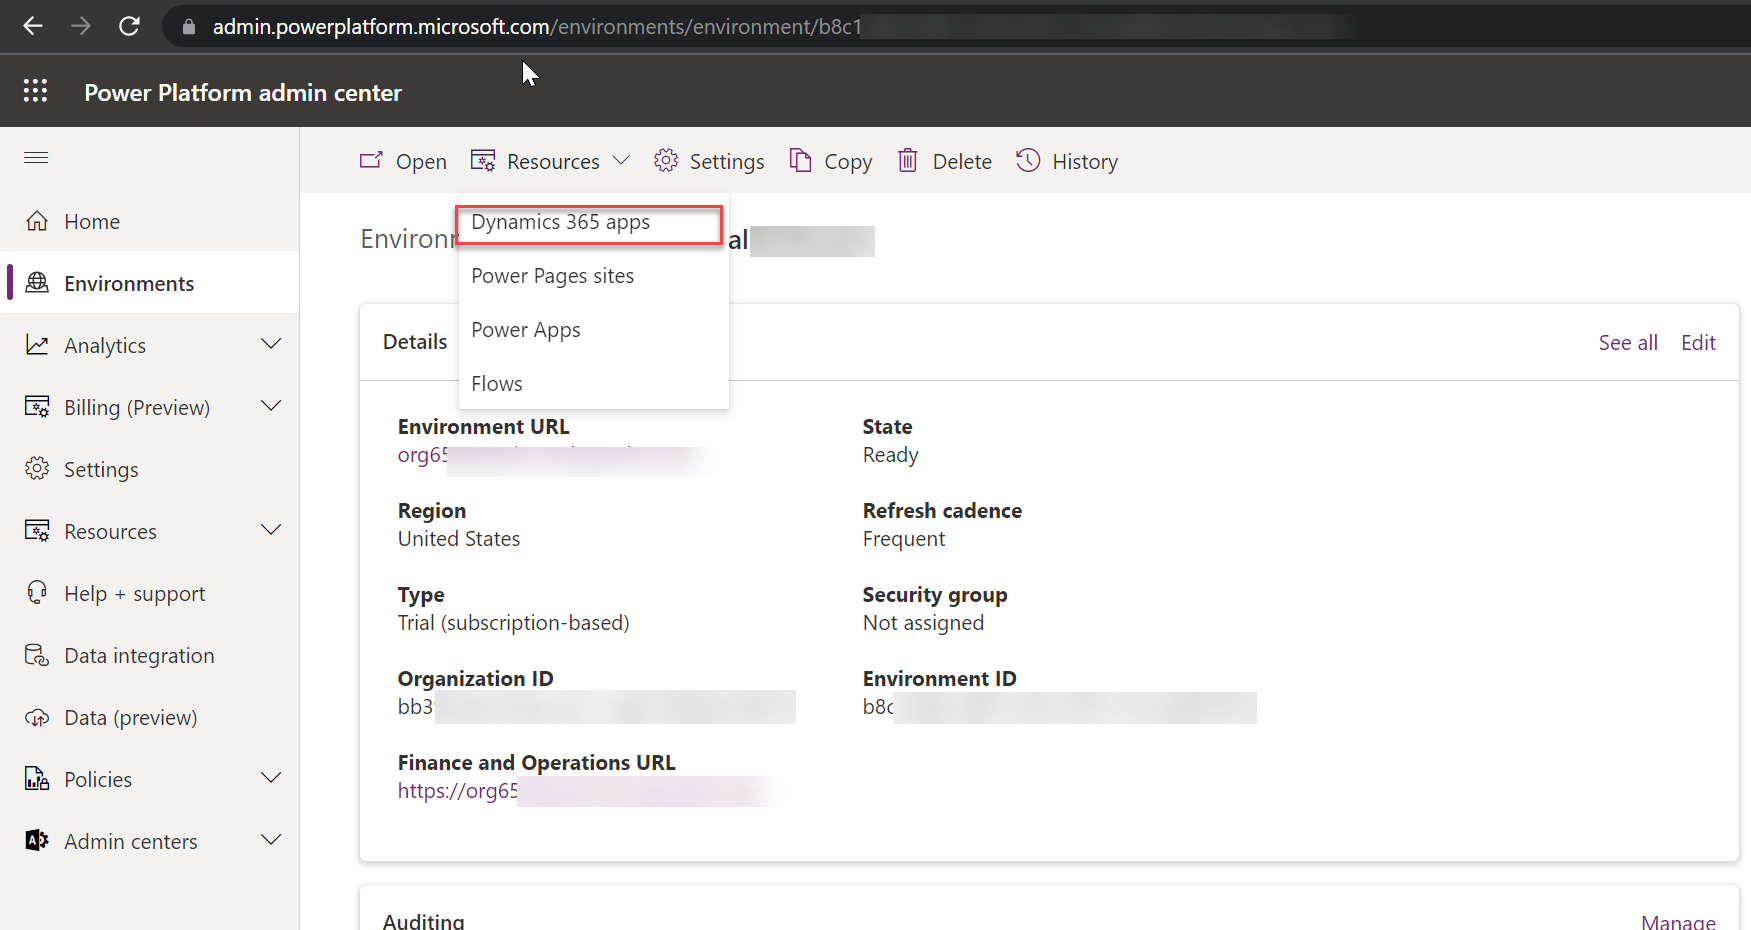
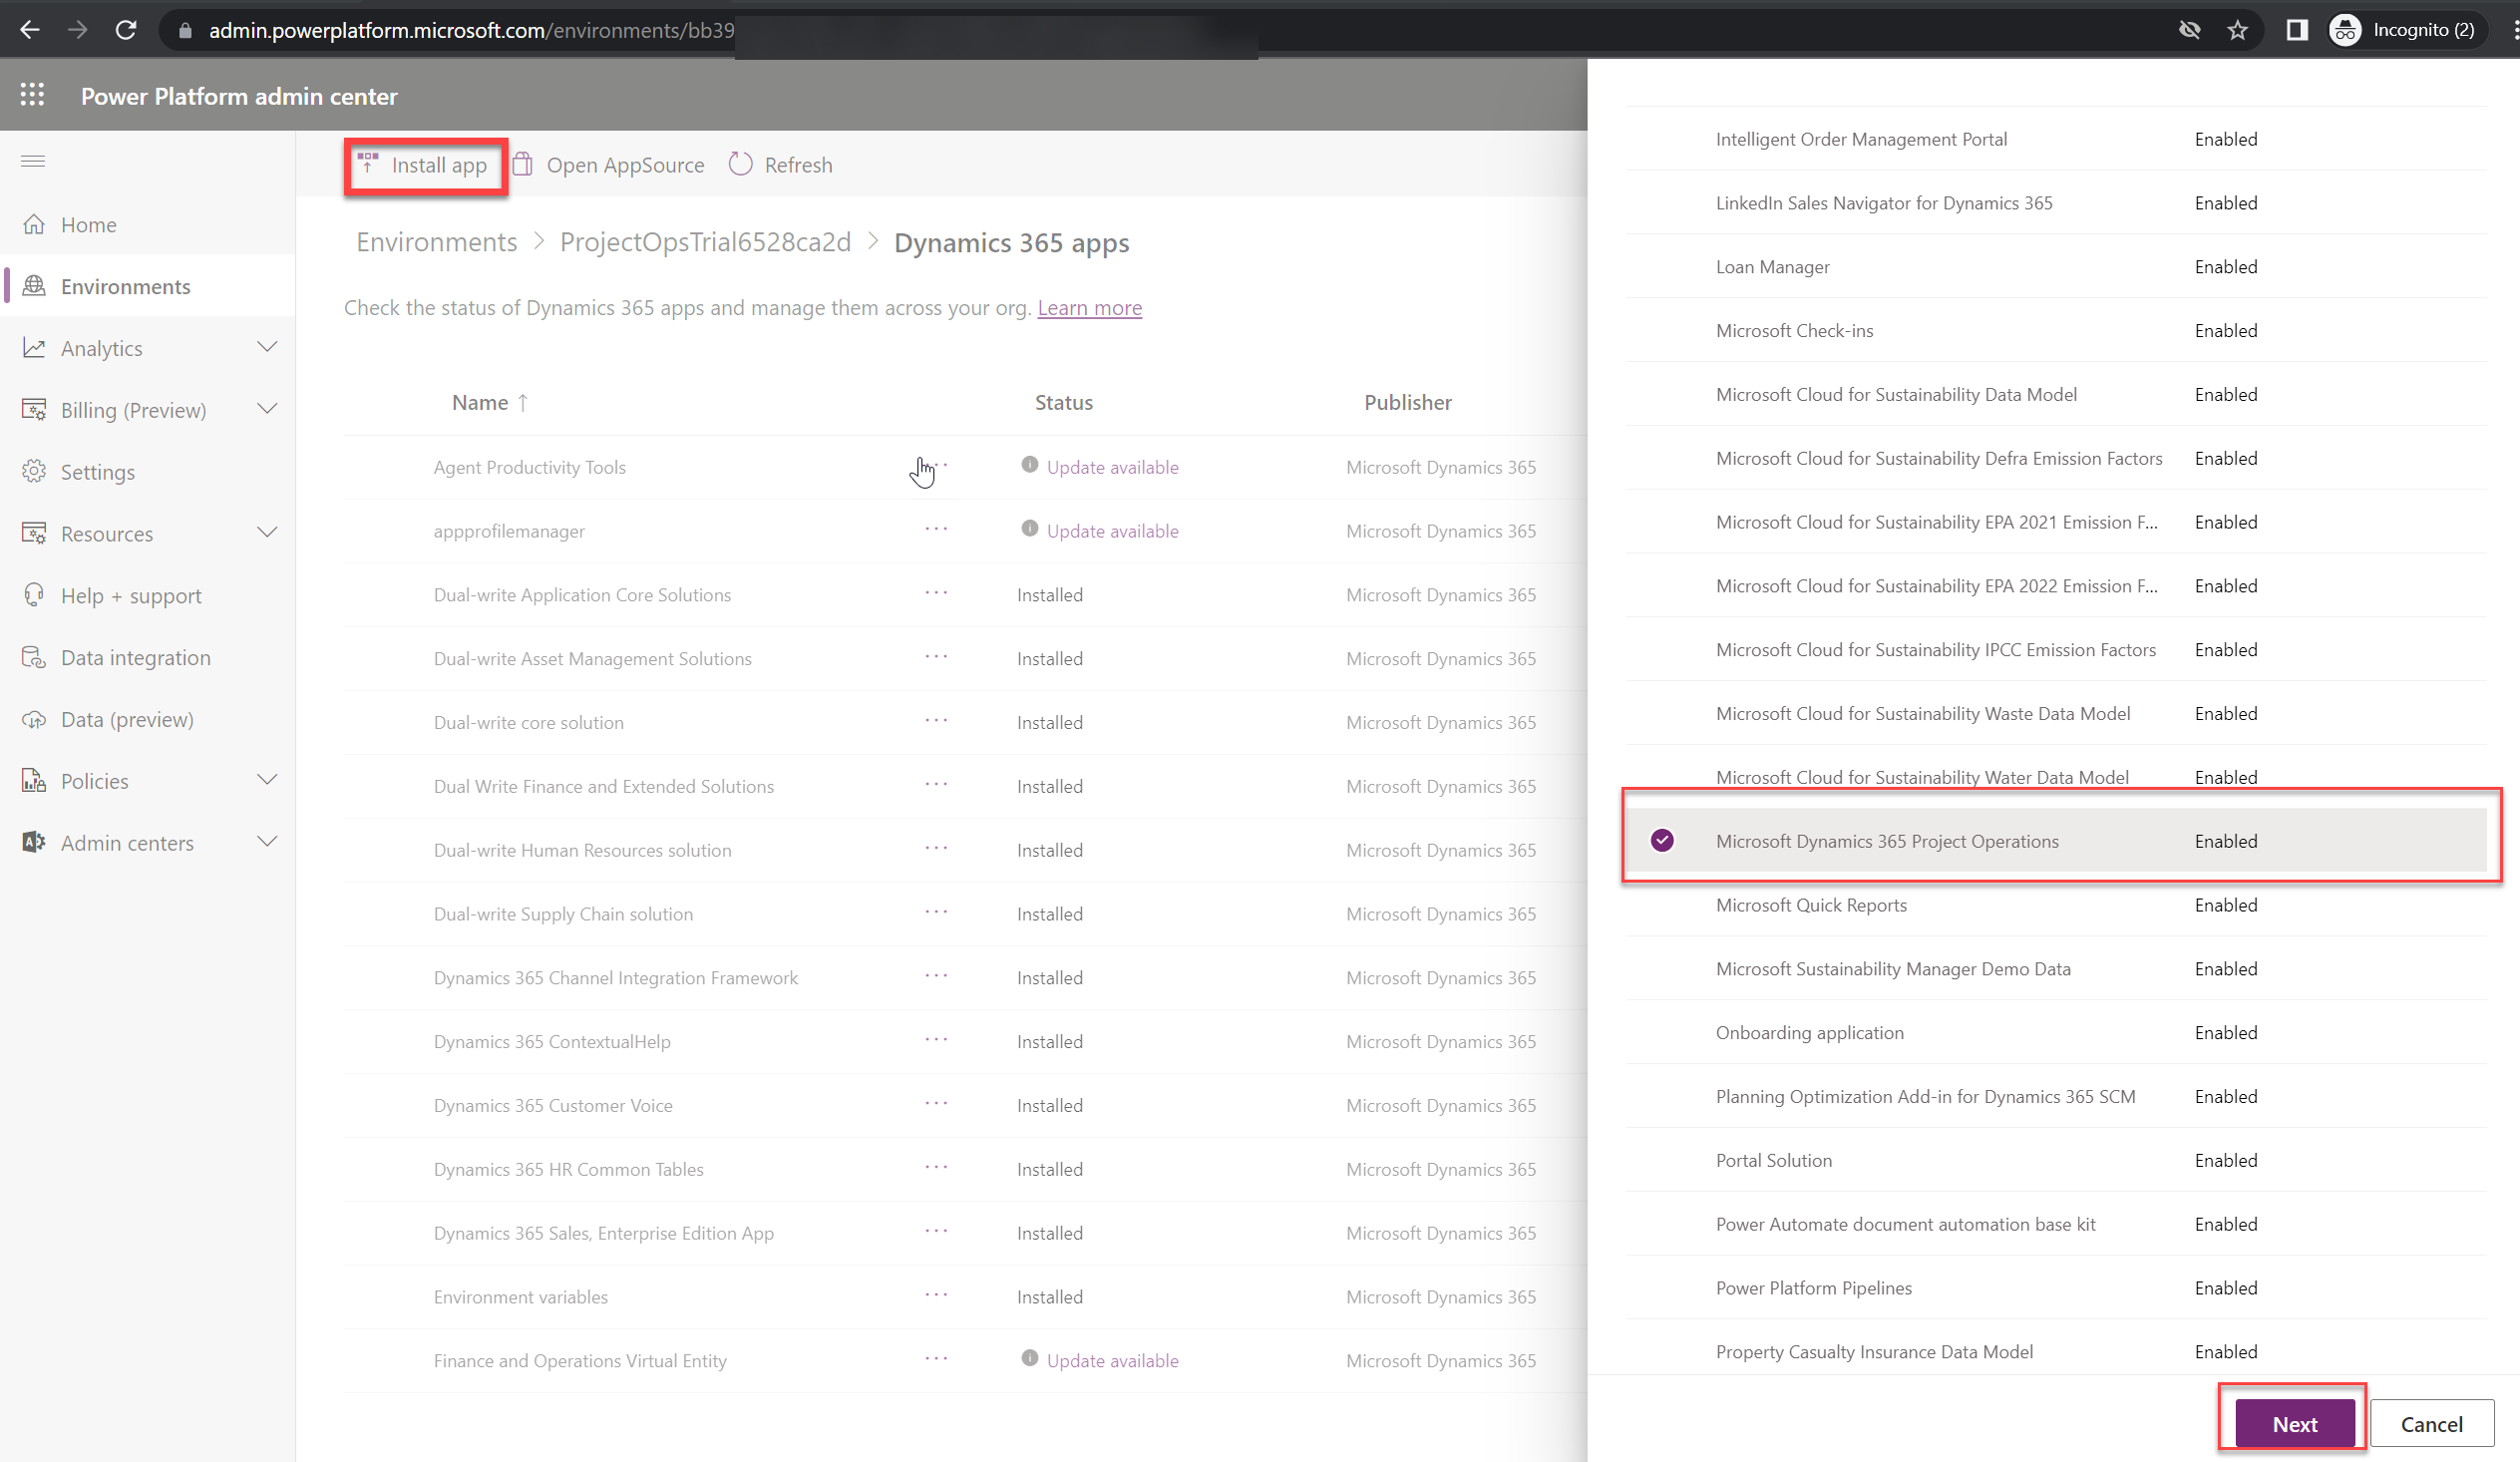
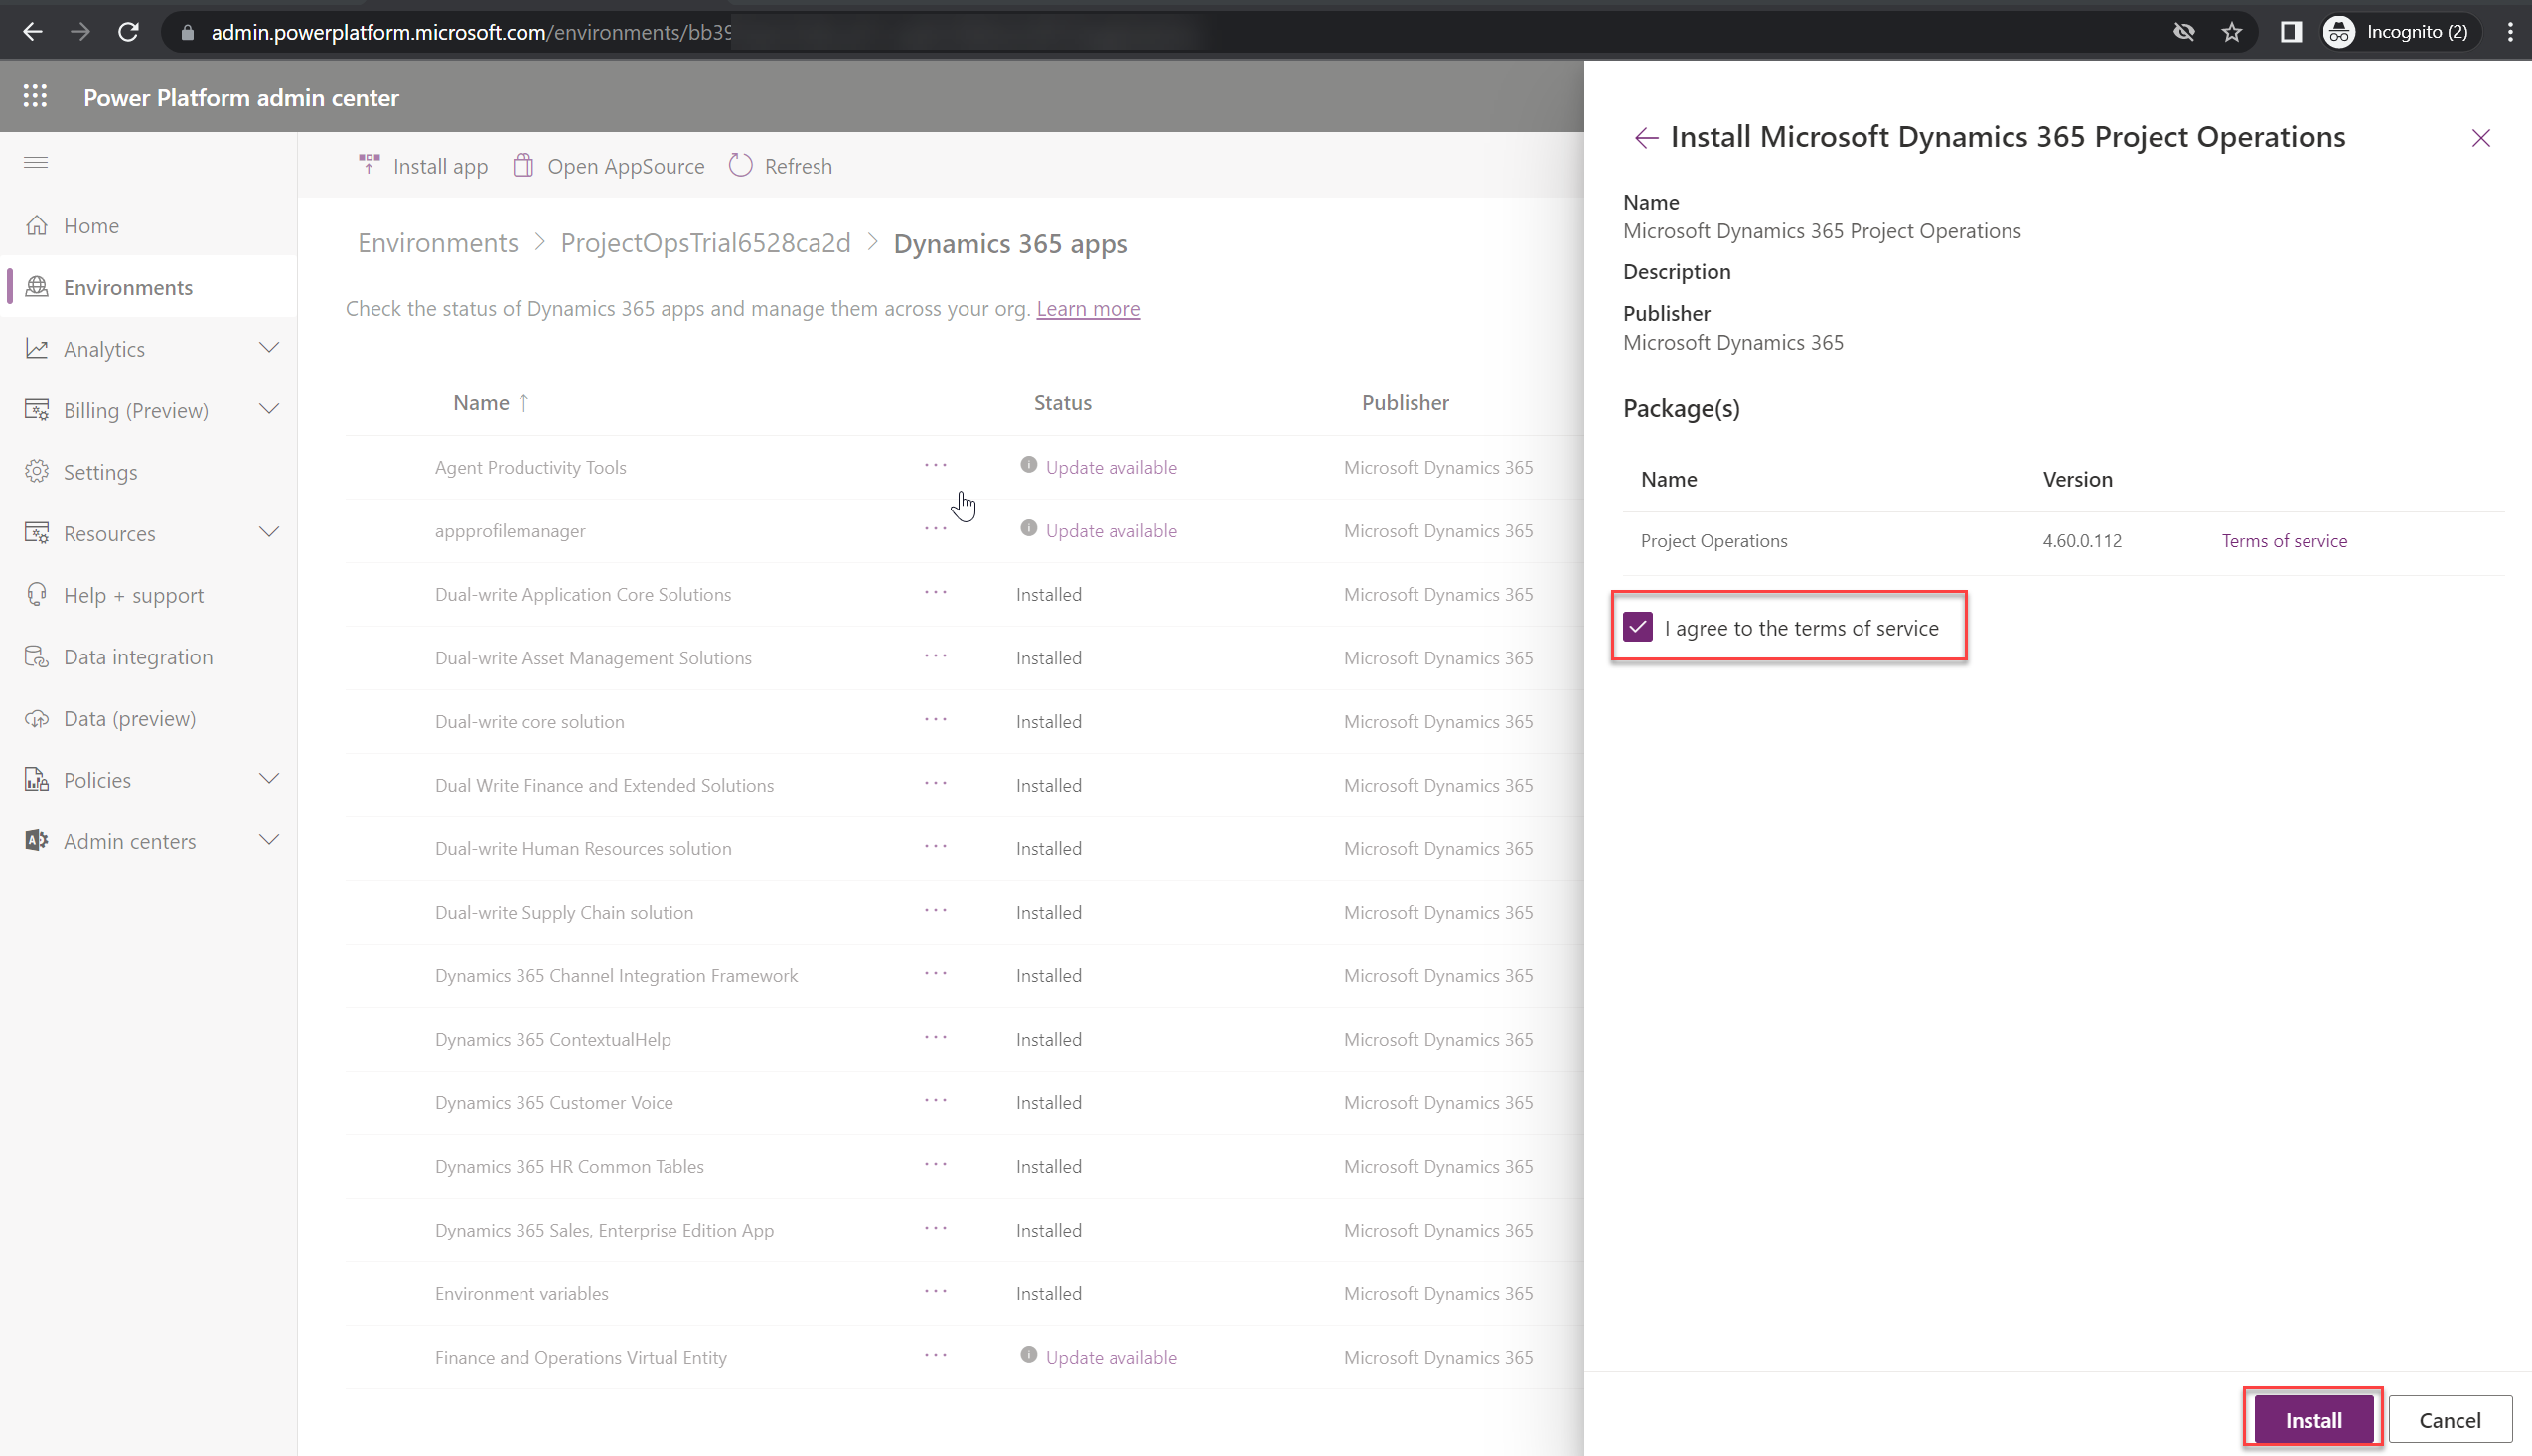
Step 11: Install Dynamics 365 Project Operations Apps
Navigate to Power Platform Admin center -> Select resource -> Dynamics 365 Apps -> Install apps

Select Microsoft Dynamics 365 Project Operations and click on Next
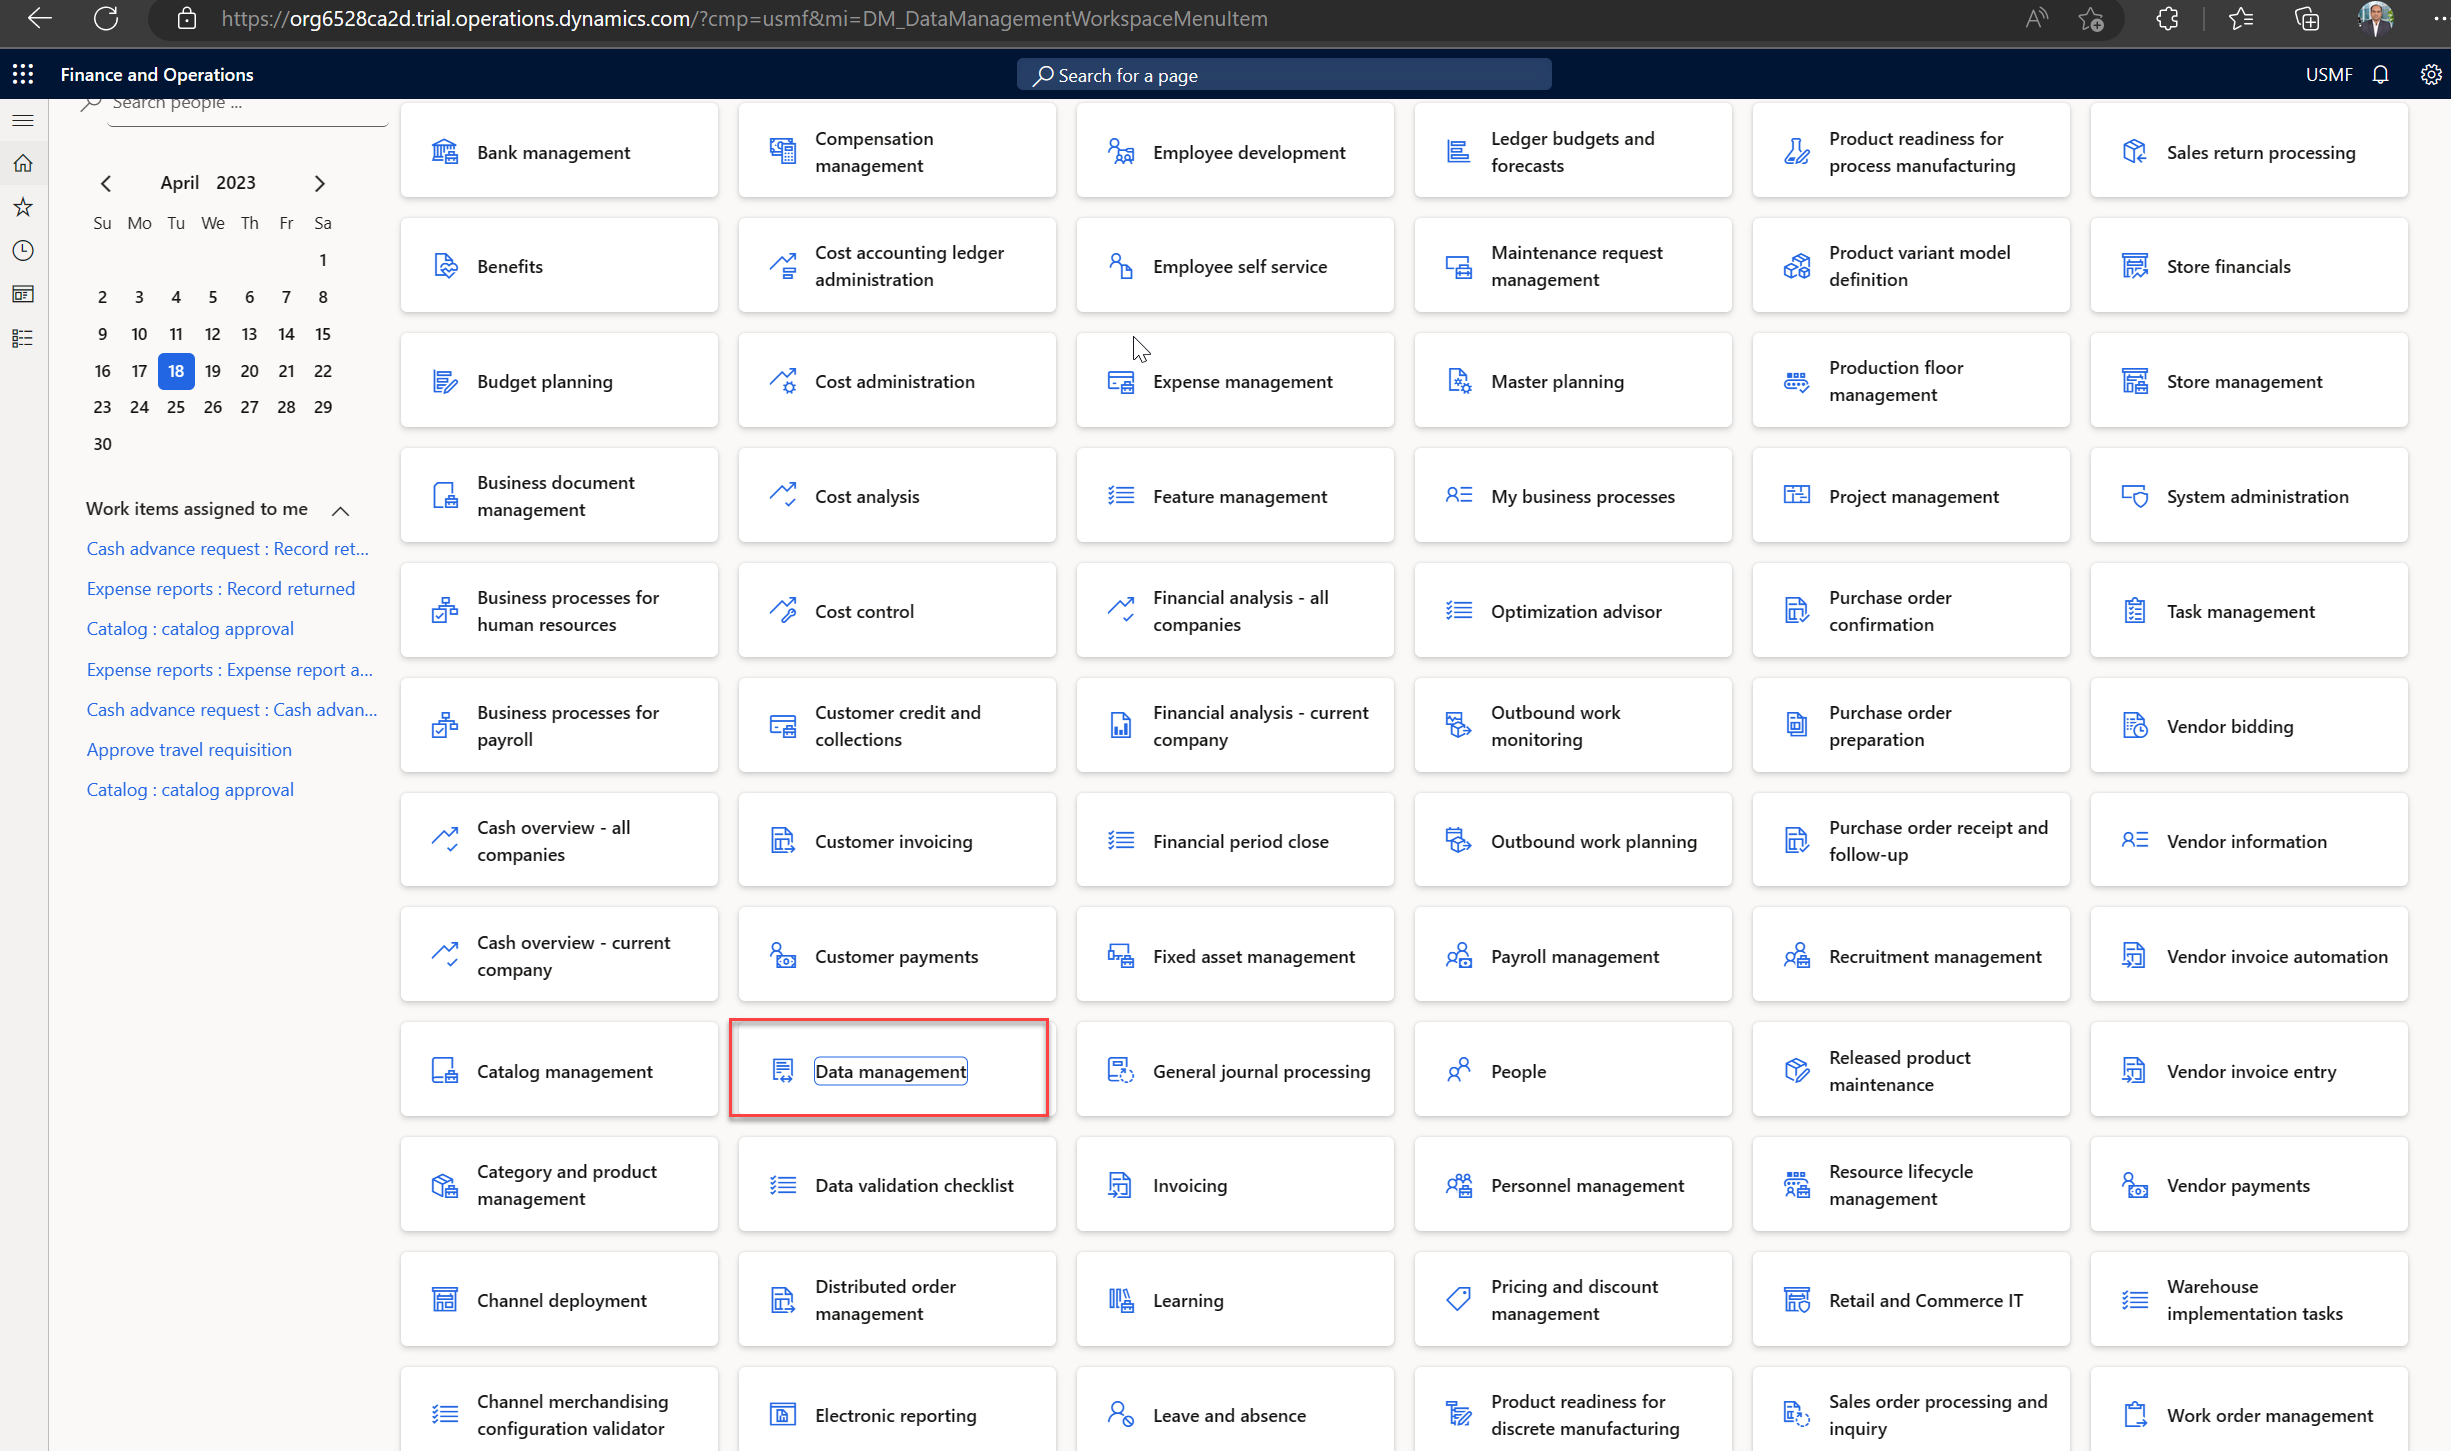
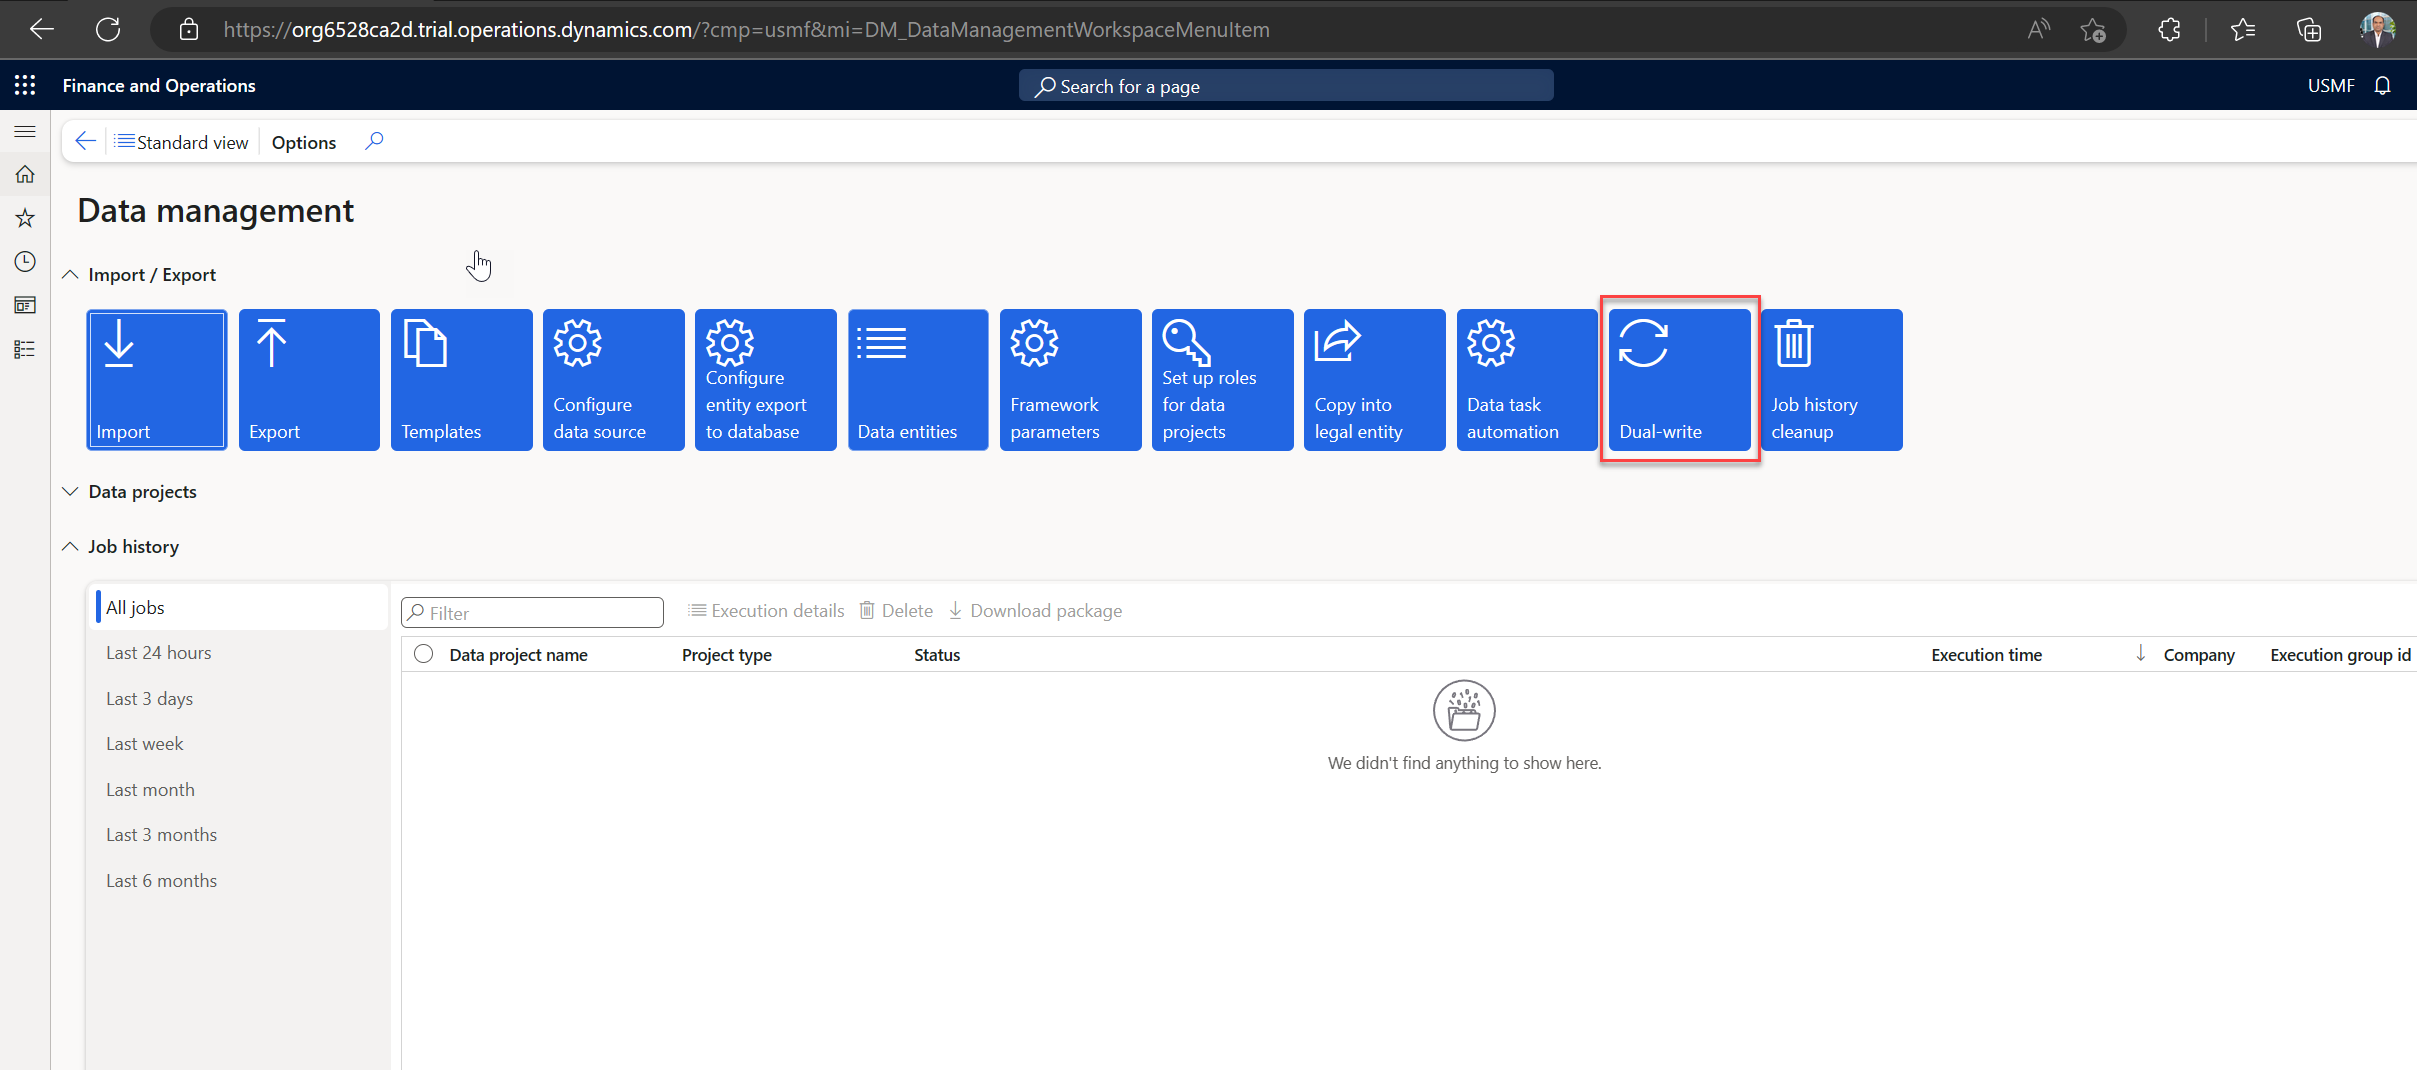
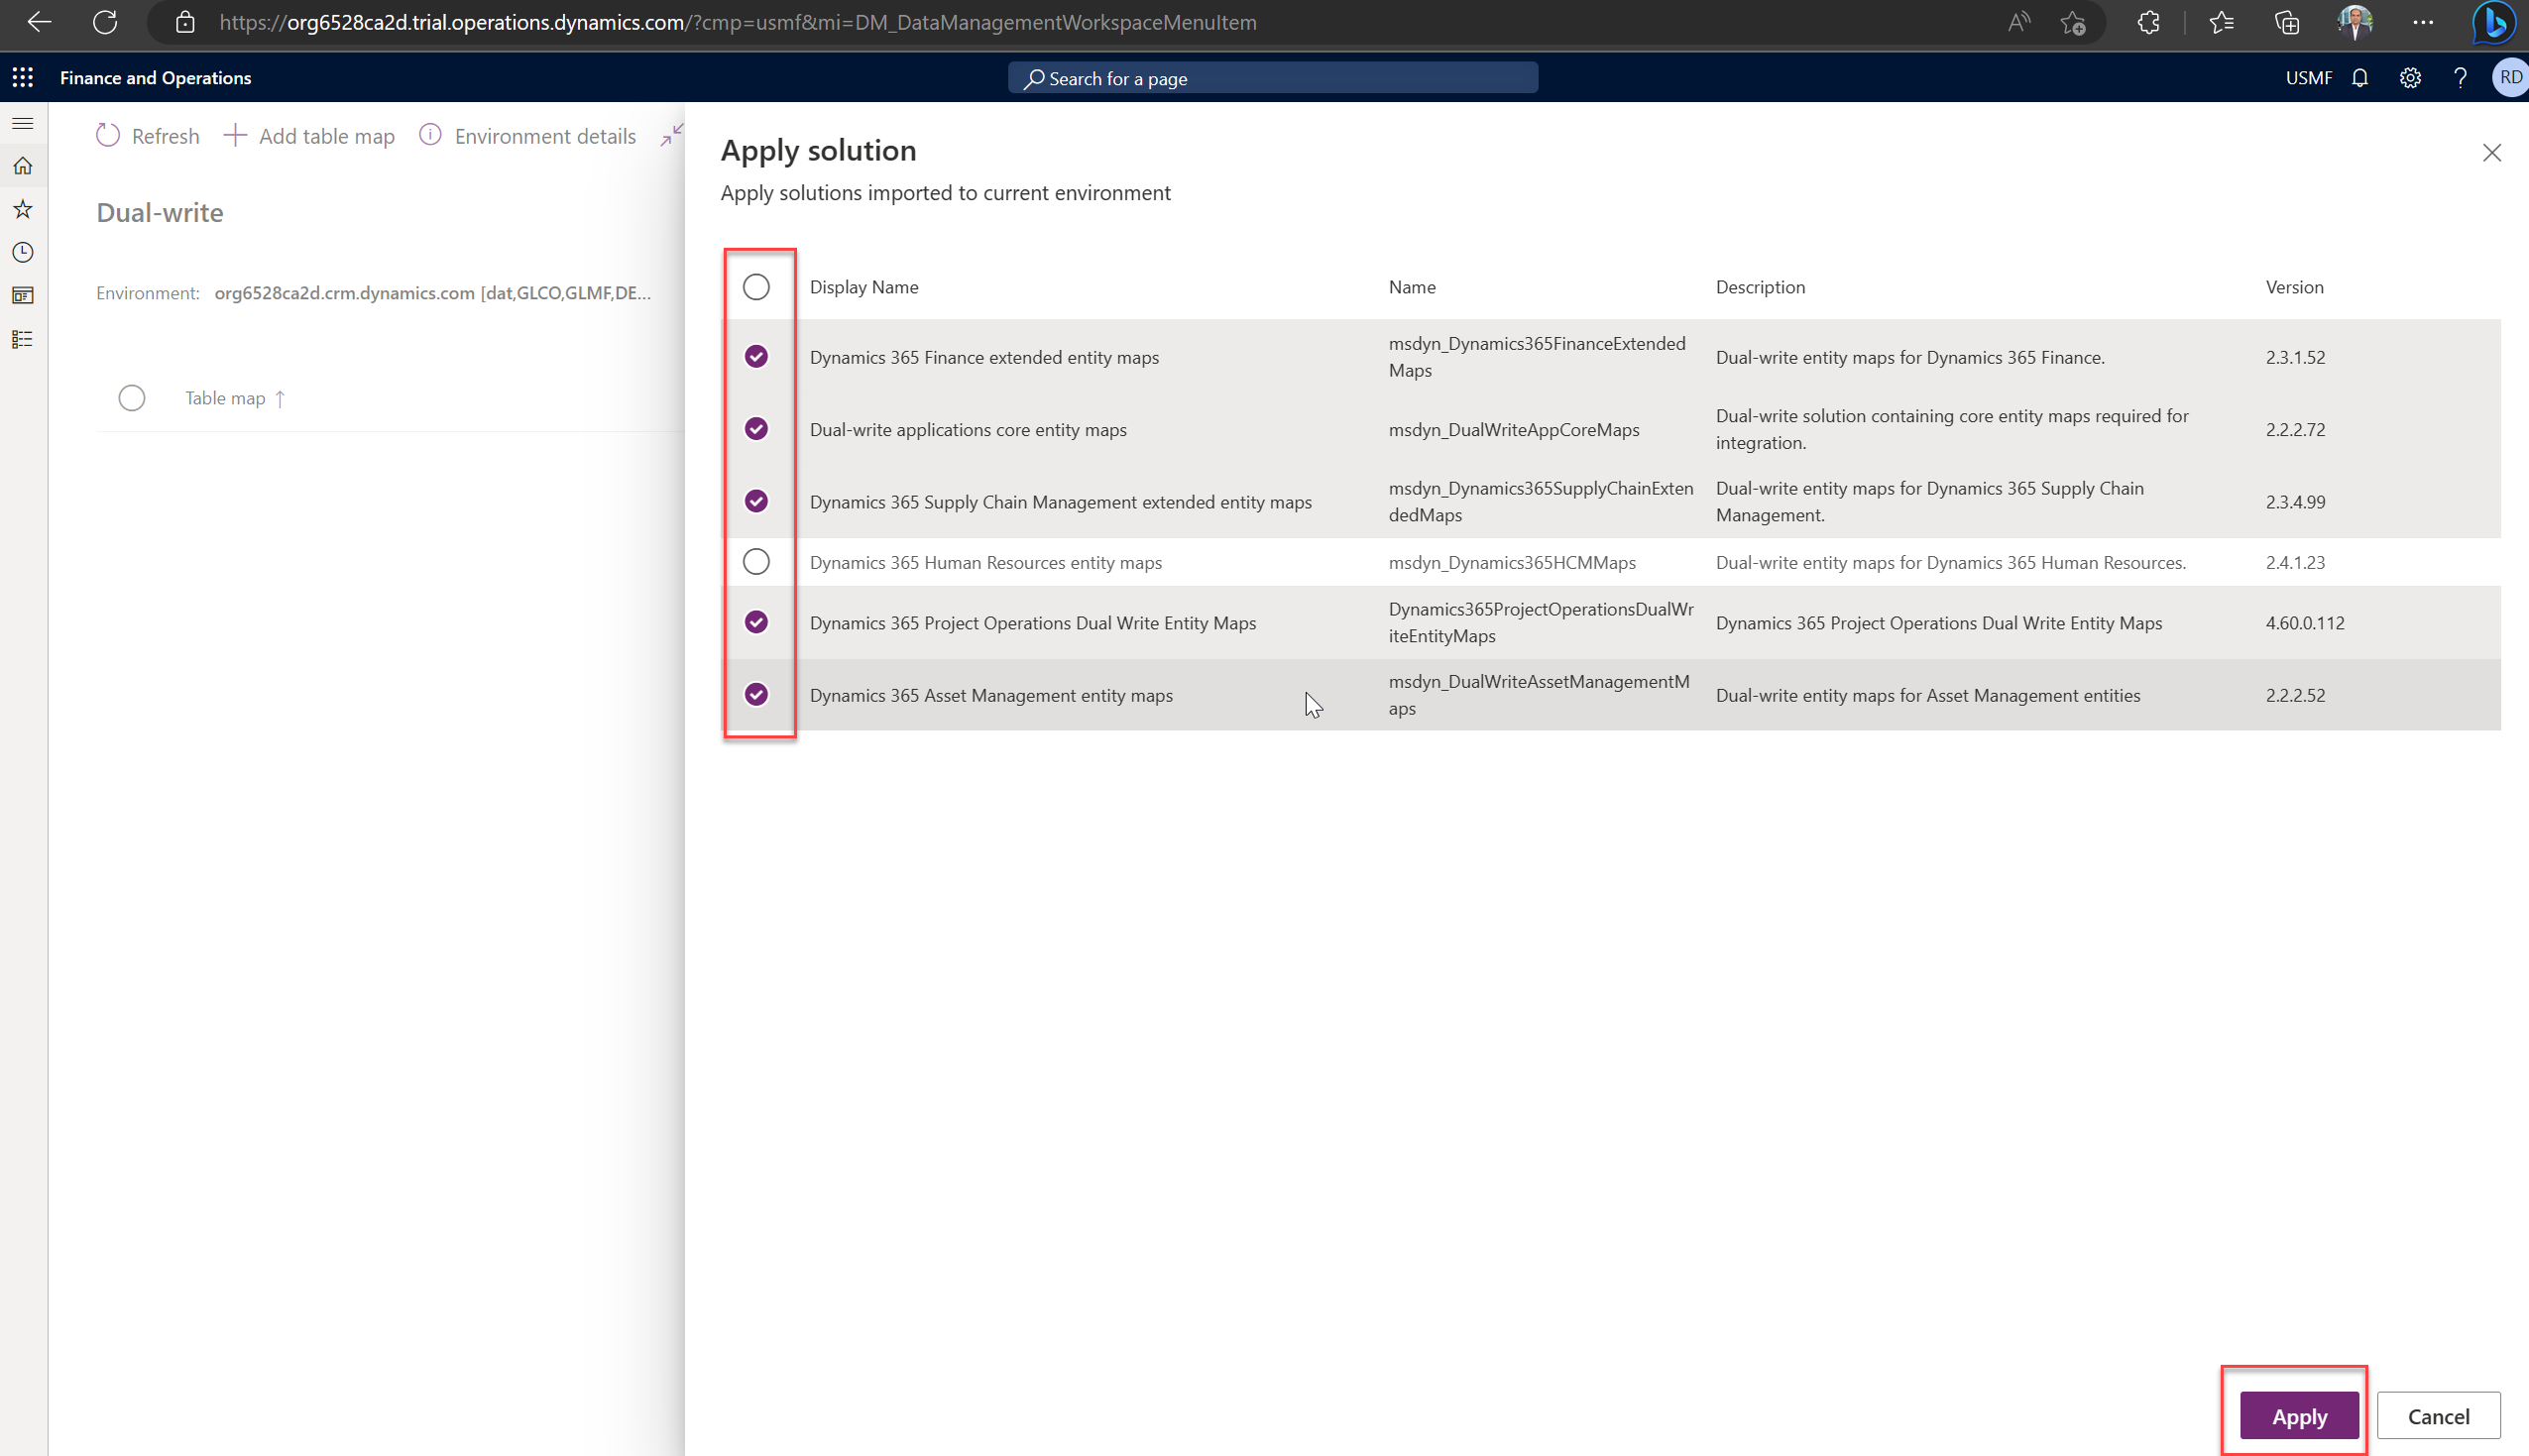
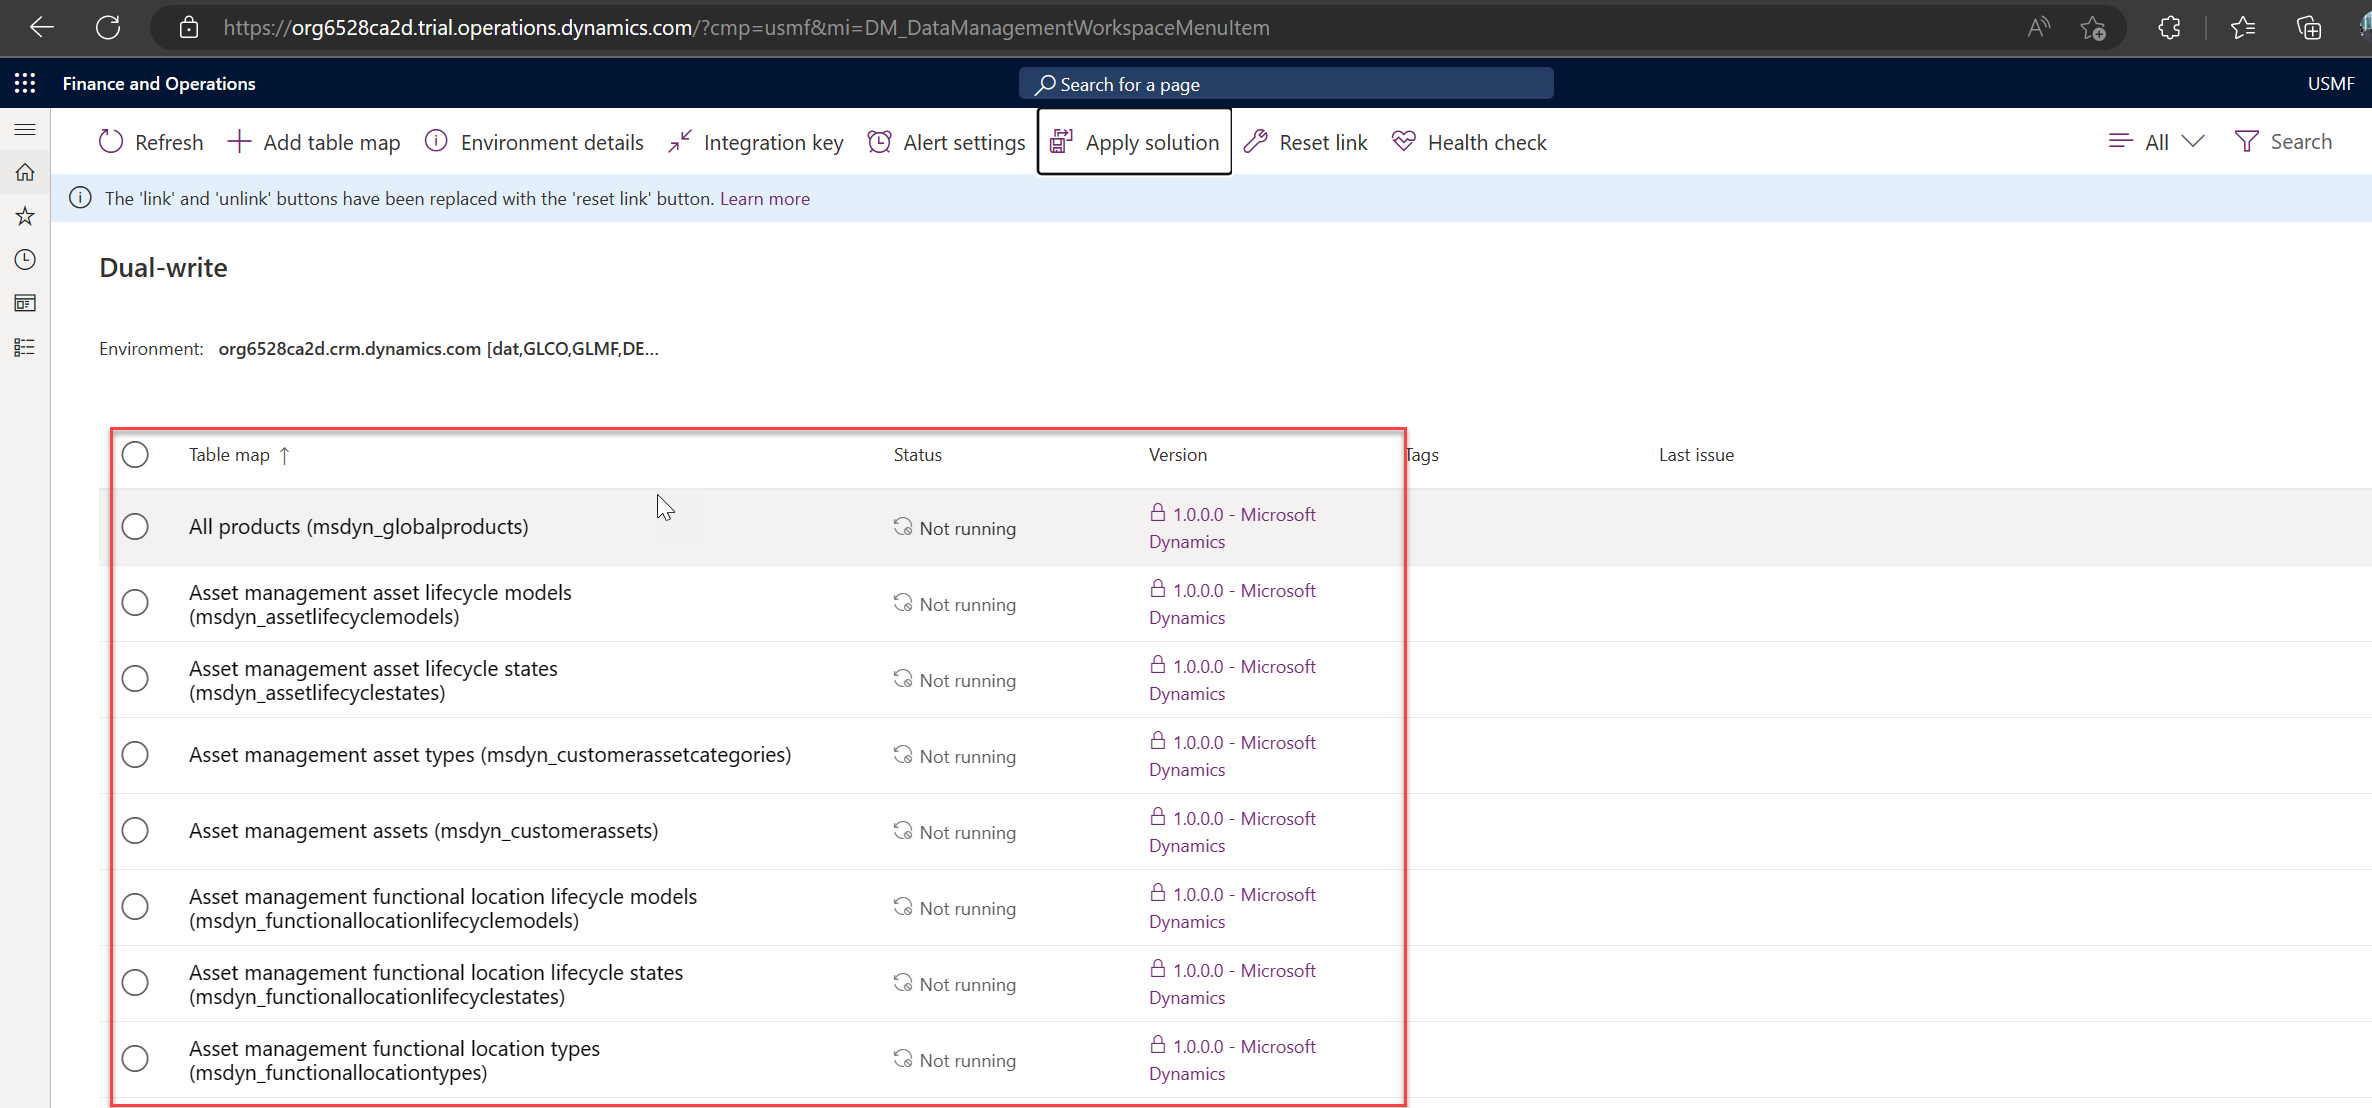
Step 12: Verify and apply the Dual-write maps solution
Navigate to the Data management workspace
Click on Dual write Tile
Click on Apply solution
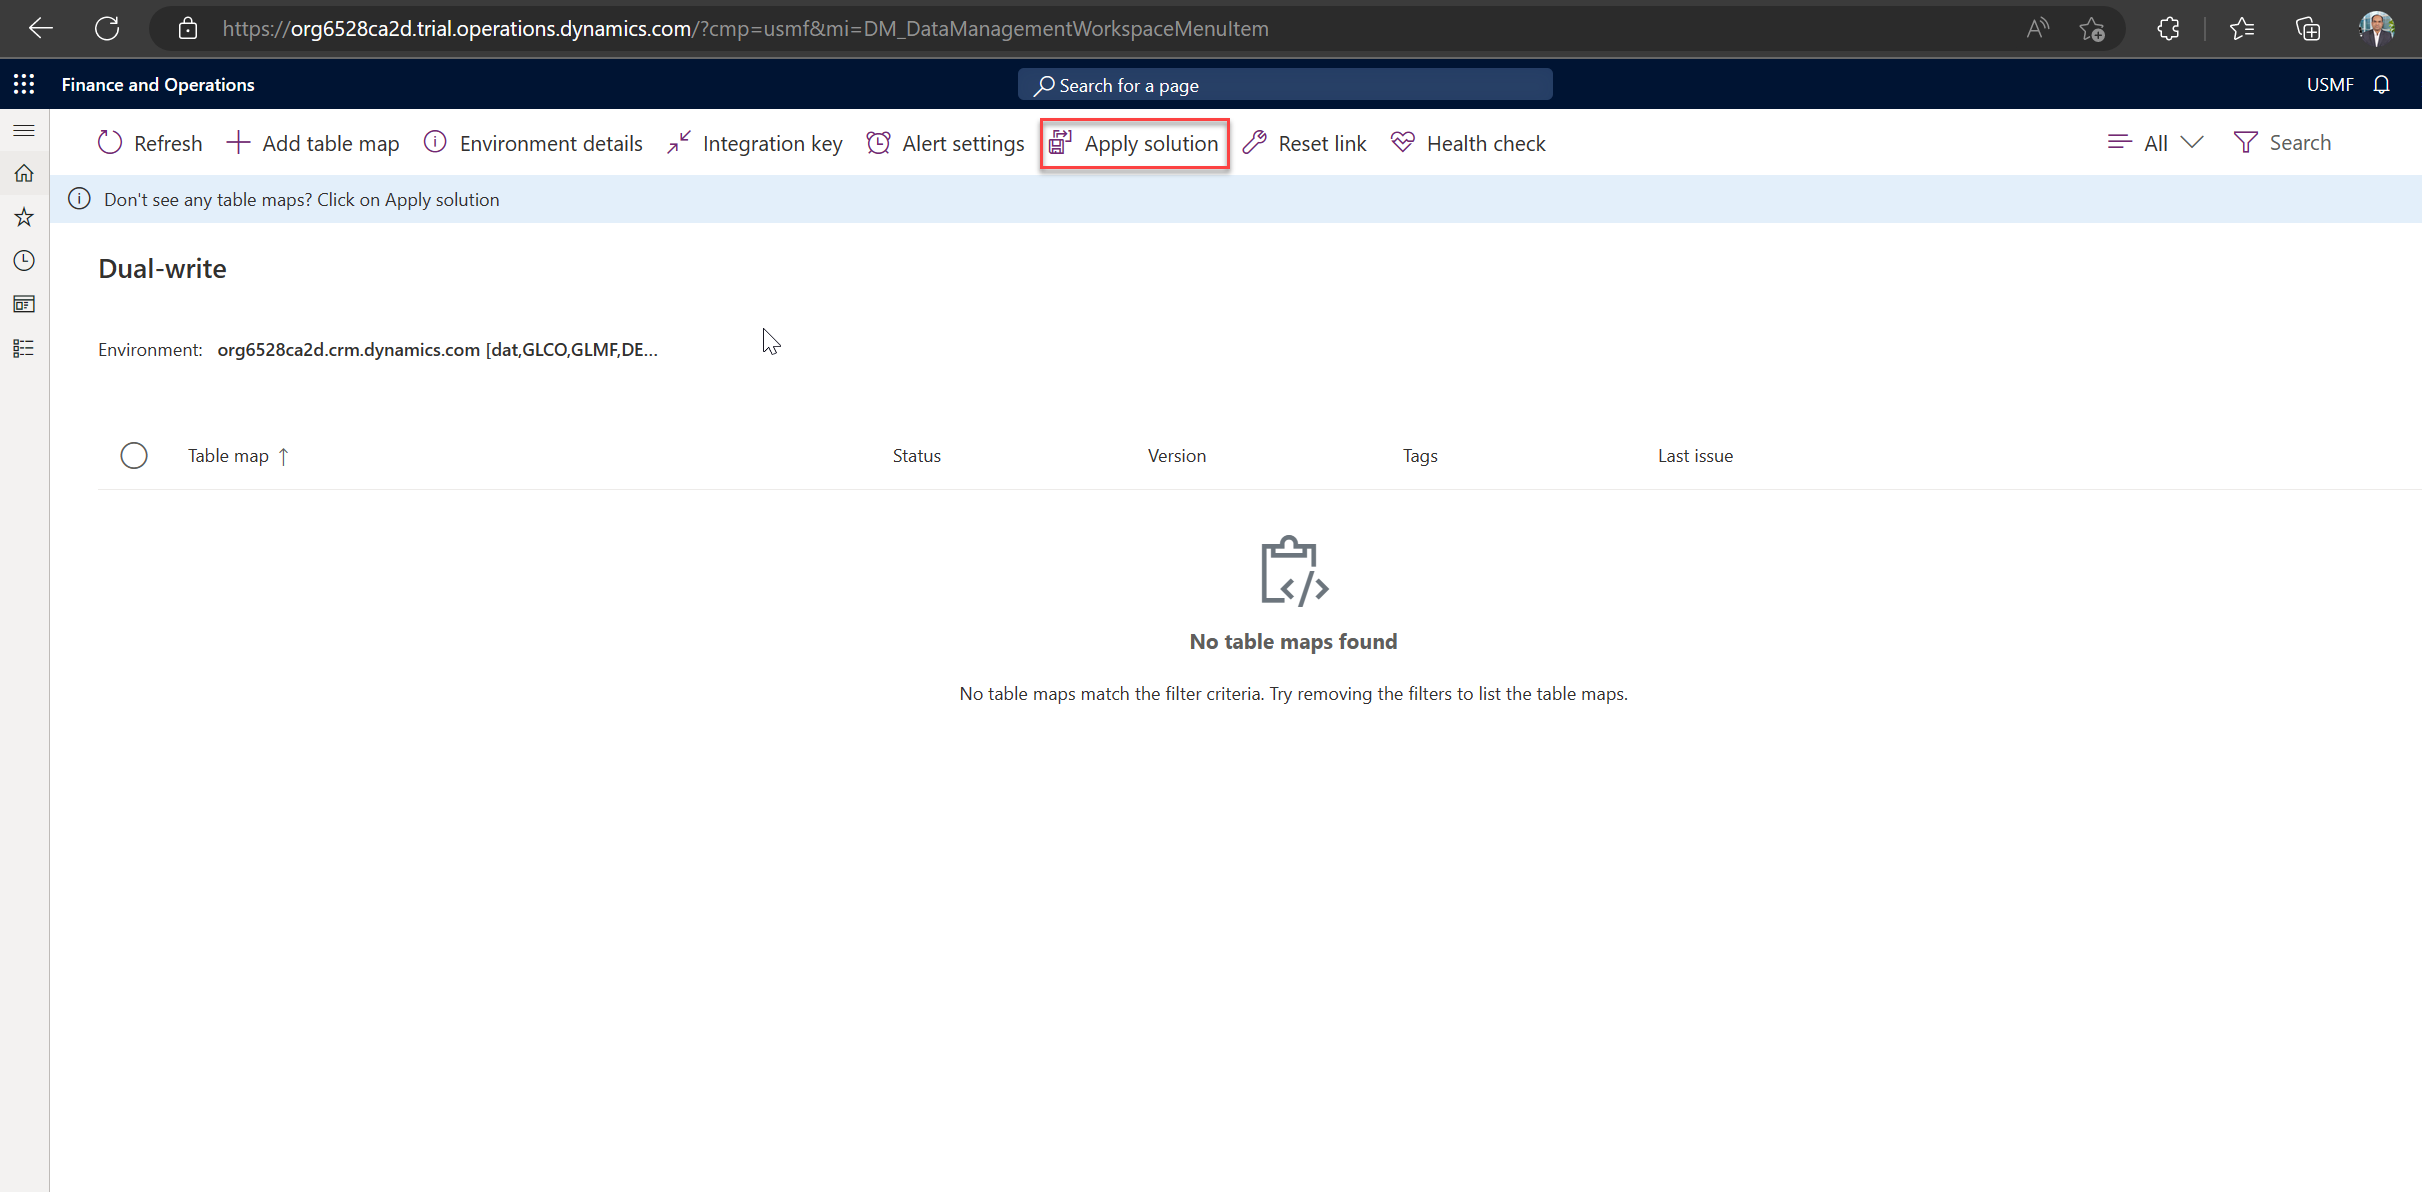
Select the respective solution to enable the Data sync and Click on Apply
Conclusion
By using this Dynamics 365 app and Dynamics 365 FO Trial environment, you can learn endlessly.
Thanks for reading! I hope this can help get you started exploring this One Dynamics One Platform! Feel free to like and share this article if it helps! Cheers!
Thank you for Reading - Let's Connect!
Enjoy my blog? For more such awesome blog articles - follow, subscribe and let's connect on LinkedIn, Twitter, YouTube
Stay tuned!